Kitchen Tips

How To Make Strawberry Jam At Home | Strawberry Jam Recipe

Source : instagram

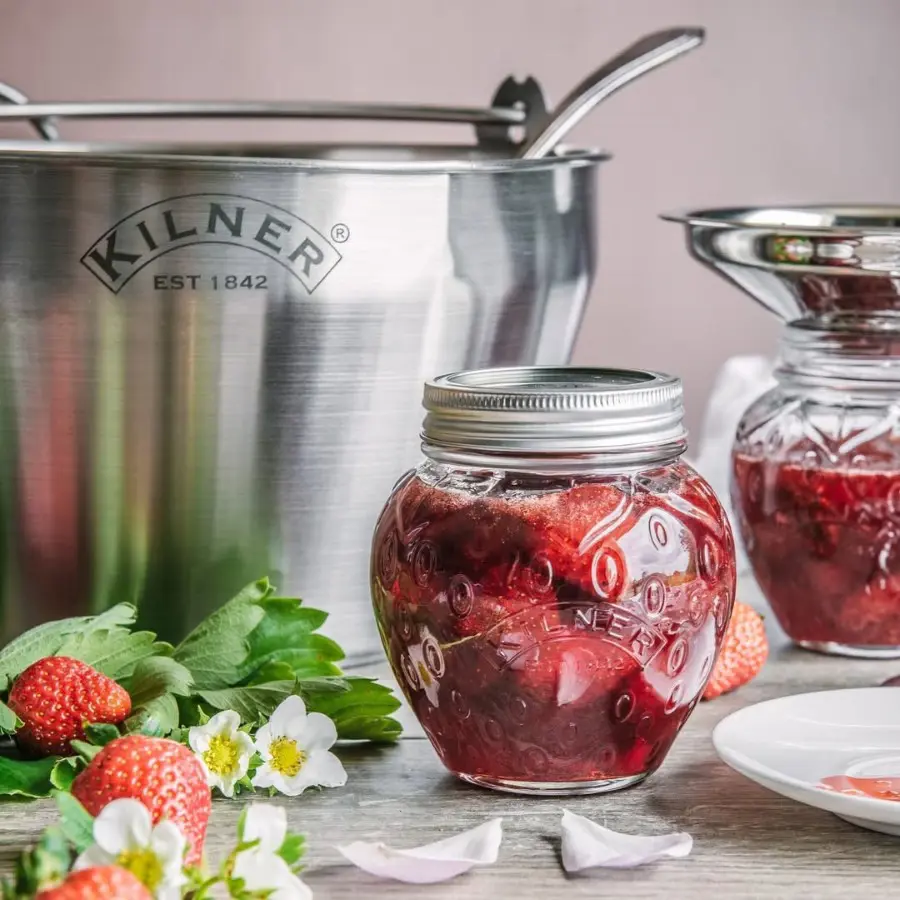
Homemade jam brings the vibrant relishes of fresh fruits into your kitchen with minimal effort. Families have long treasured the tradition of preserving seasonal produce, transforming ripe berries into delectable spreads.

How to make strawberry jam becomes simple when you understand the basic techniques that turn ordinary ingredients into extraordinary preserves. This culinary skill connects people to time-honored cooking methods while creating delicious memories that can be shared with loved ones.

Ingredients For Jam

One of the best things about jam-making is being able to make it from just a few bare ingredients. It's these simple components that turn plain strawberries into something delicious and truly evocative of summer.

  • Strawberries – Fresh, almost overripe strawberries work best for jam-making. Local farmers and market stands often sell these less perfect berries at lower prices. These slightly bruised fruits mush down wonderfully, creating a smooth texture without large chunks. Their softness ensures maximum flavor extraction during the cooking process.
  • Pectin – Traditional dry or powdered pectin provides the essential setting agent for homemade jam. Liquid or no-sugar pectin varieties will not deliver the same reliable results. The powdered version ensures a consistent thickness and helps bind the fruit together perfectly.
  • Sugar – White granulated or cane sugar serves as the primary sweetening agent. These sugar types preserve the authentic strawberry flavor without introducing competing tastes. Alternative sweeteners like honey or brown sugar will fundamentally change the jam's final profile and character.
  • Lemon Juice (Optional) – Strawberries naturally contain enough acid for safe preservation. Adding 1-2 teaspoons of lemon juice provides an extra layer of brightness and safety. This small amount enhances the overall flavor complexity and helps stabilize the jam's consistency.
  • Butter – An old-fashioned technique involves adding a small amount of butter before introducing sugar. A teaspoon or less helps reduce foam formation during cooking. This simple trick ensures a cleaner, more professional-looking final product.
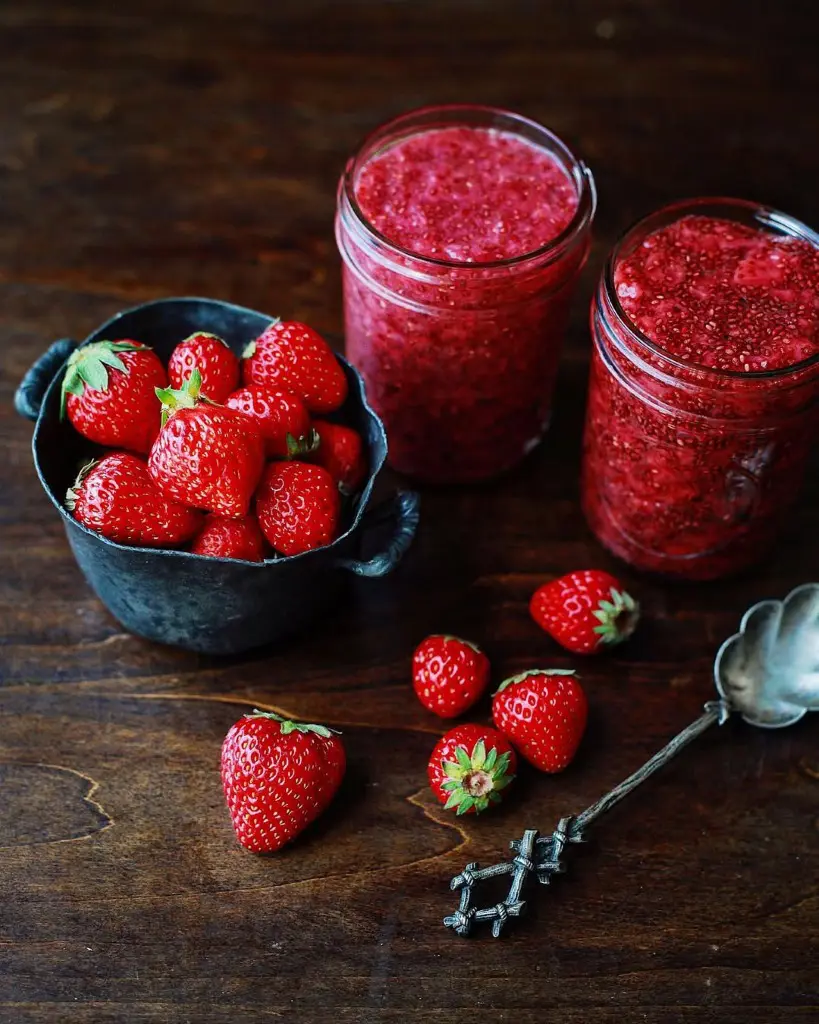
How To Make Strawberry Jam

Making strawberry jam at home is quite straightforward once the right steps are followed. This guide will take you through some steps of preparing a delicious spread that captures the fresh taste of ripe strawberries. With careful preparation and attention to detail, anyone can make perfect jam.

Ingredients You'll Need

  • 5 cups of fresh strawberries (about 2.5 to 3 pounds)
  • 7 cups of white sugar
  • 1 packet of pectin (about 1.75 ounces)
  • Large cooking pot
  • Canning jars
  • Potato masher or blender
  • Ladle and funnel
  • Kitchen towel
  • Jar tongs

Instructions

Step 1: Strawberry Preparation

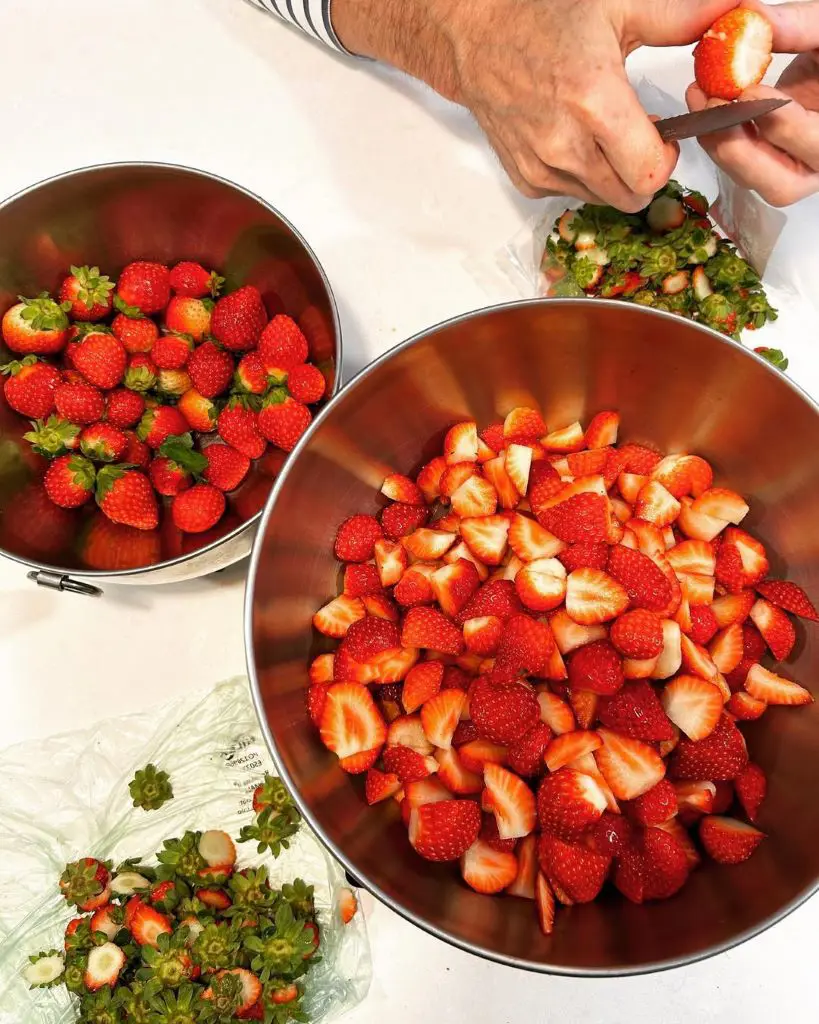
Start by taking your time to wash thoroughly your fresh strawberries using some cool running water. While washing the berries, make sure to massage them gently and discard any dirt or possible impurities. Also, remove any stems or bruised sections.

Source : instagram

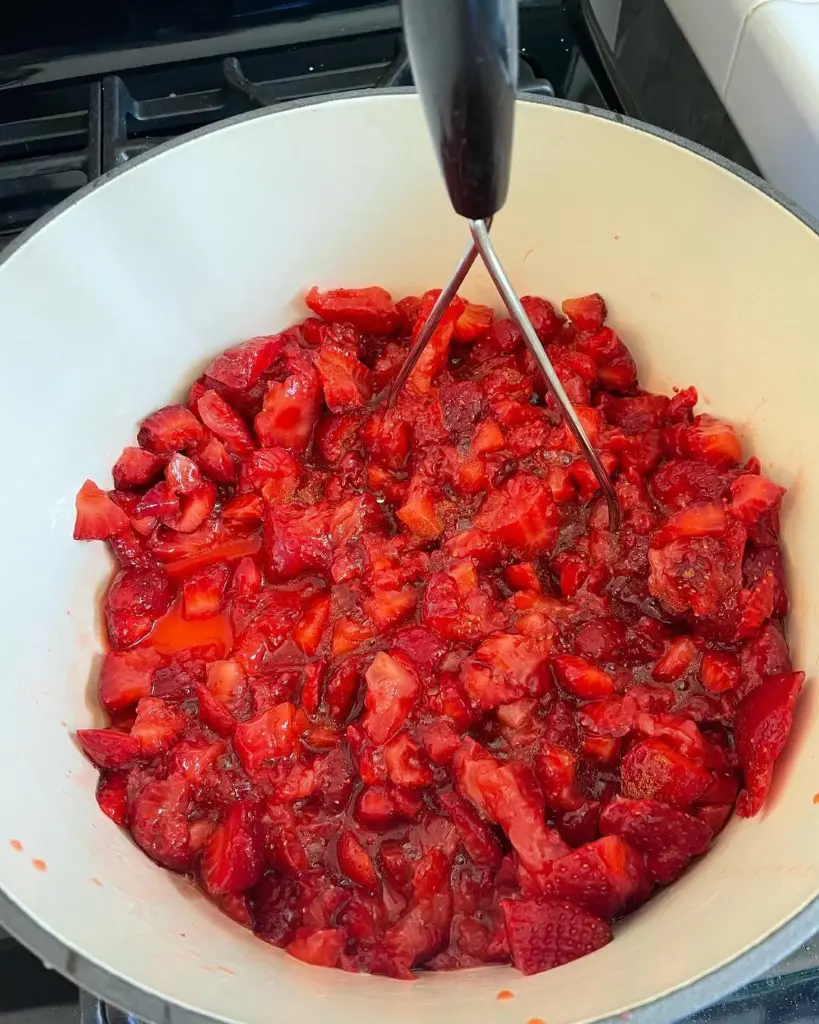
Step 2: Mash the Strawberries

Mash the strawberries using a potato masher or blender until they become a consistent pulp. You need precisely 5 cups of strawberry mixture for this recipe. Measure carefully to ensure the right balance of ingredients.

Source : instagram

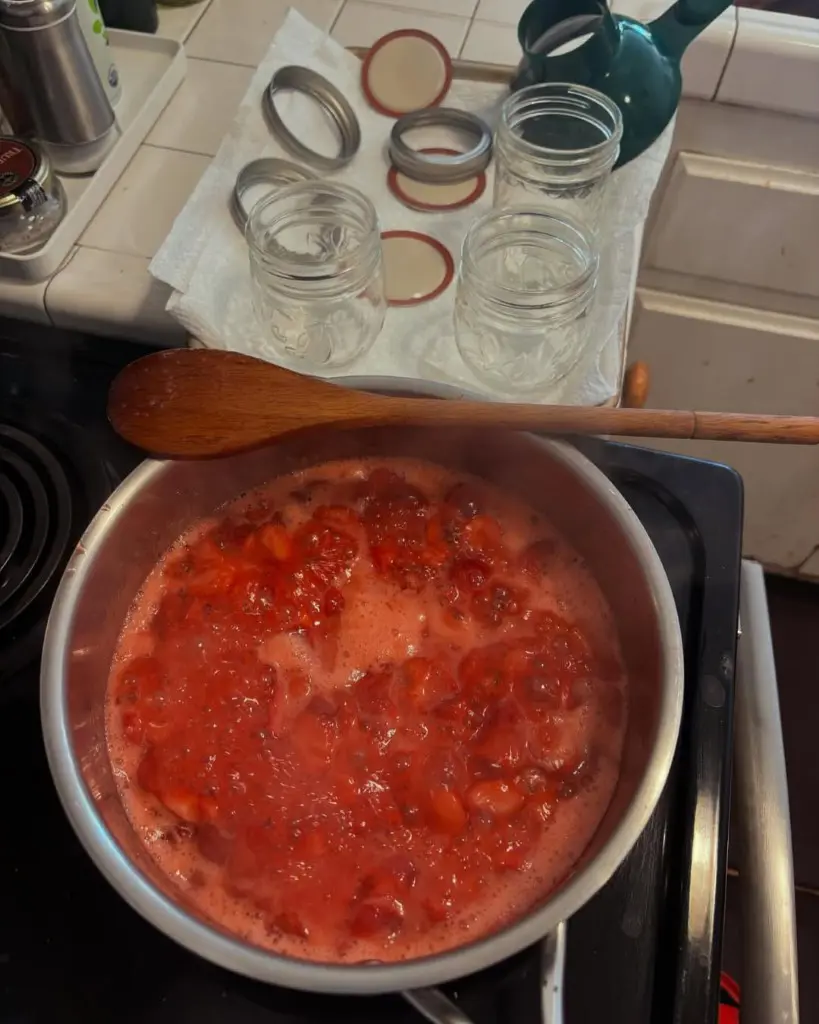
Step 3: Cooking the Strawberry Base

Place the strawberry pulp into a large, clean pot. Add the pectin packet to the fruit. If you desire extra flavor, you might want to add a squeeze of lemon juice. Put your burner to high heat and start to stir.

You want to fully dissolve the pectin and have a smooth mixture. Continue stirring until the mixture has reached a full, rolling boil that doesn't cease bubbling when stirred.

Source : instagram

Step 4: Sugar Integration and Final Cooking

Pour all 7 cups of sugar into the boiling strawberry mixture at once. Stir continuously to prevent any sugar from settling at the bottom of the pot. Return the mixture to a full boil.

Set a precise timer for 4 minutes. This cooking time is crucial - too short results in a runny spread, while too long creates an overly thick jam.

Step 5: Jarring and Sealing Process

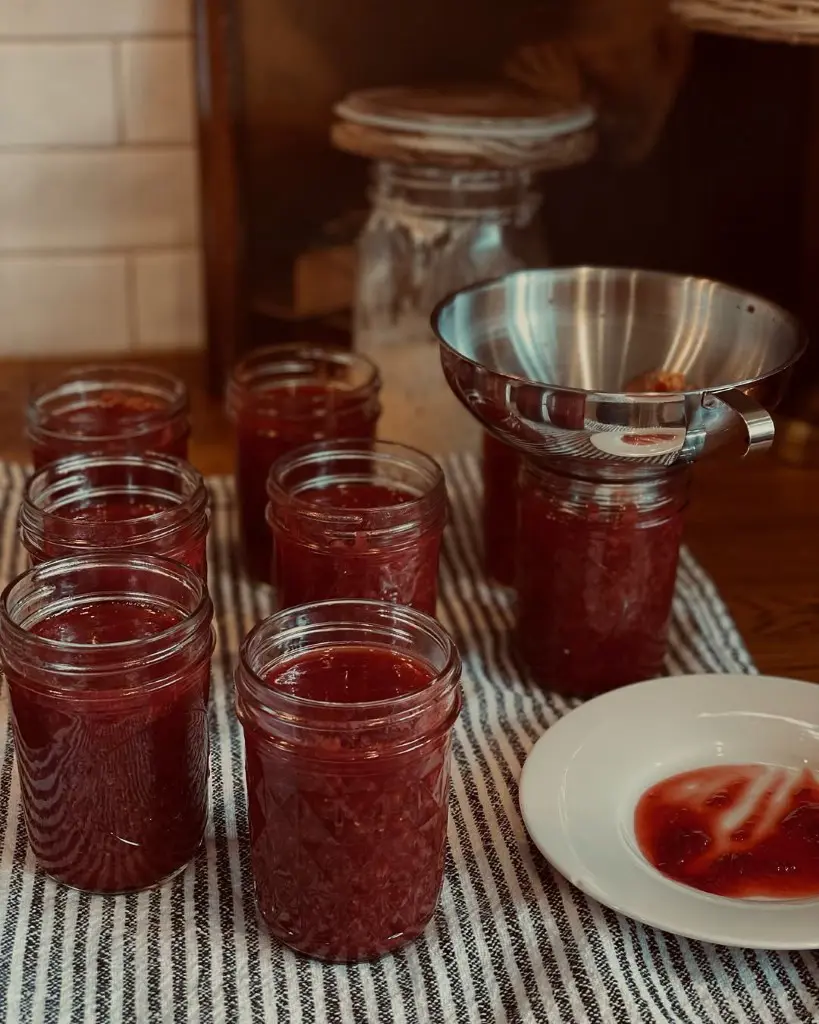
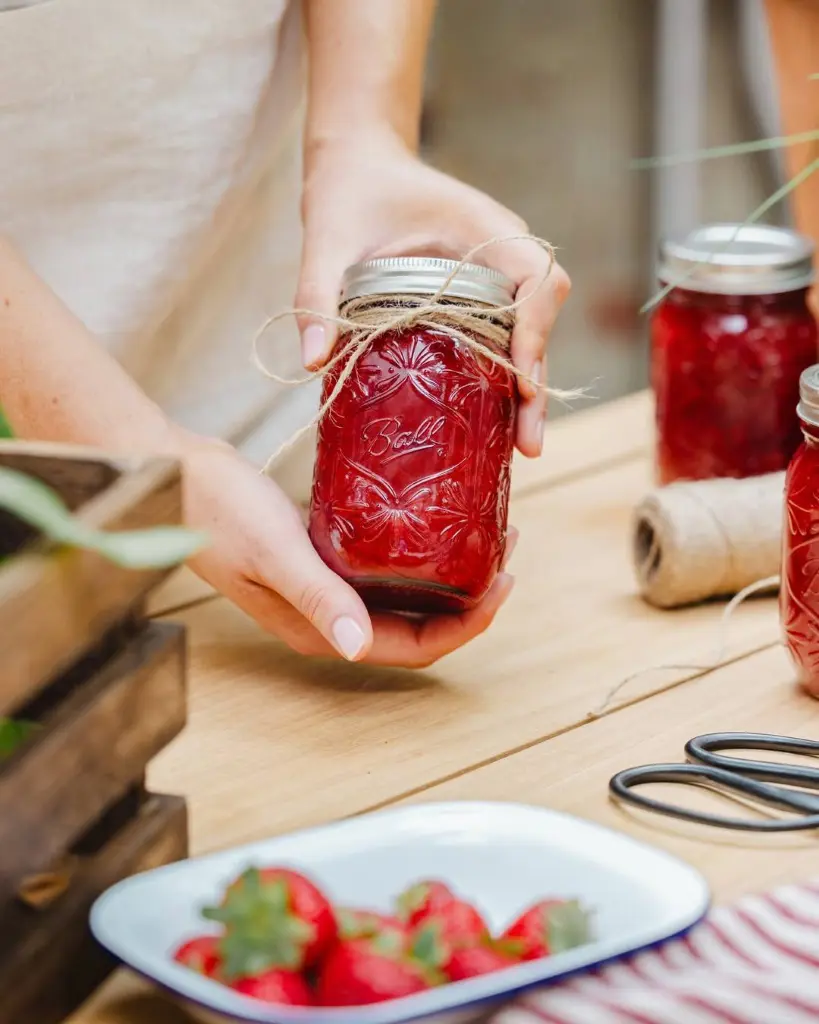
Carefully transfer the hot jam into clean canning jars. Use a wide-mouth funnel to keep the jar rims clean. Leave appropriate headspace - about 1/4 inch for water bath canning or 1 inch for freezing.

At this point run a clean utensil around the inside of each jar to remove any air bubbles. Rinse out the jar rims with a damp clean cloth to make sure you have a good seal.

Source : instagram

Step 6: Water Bath Processing

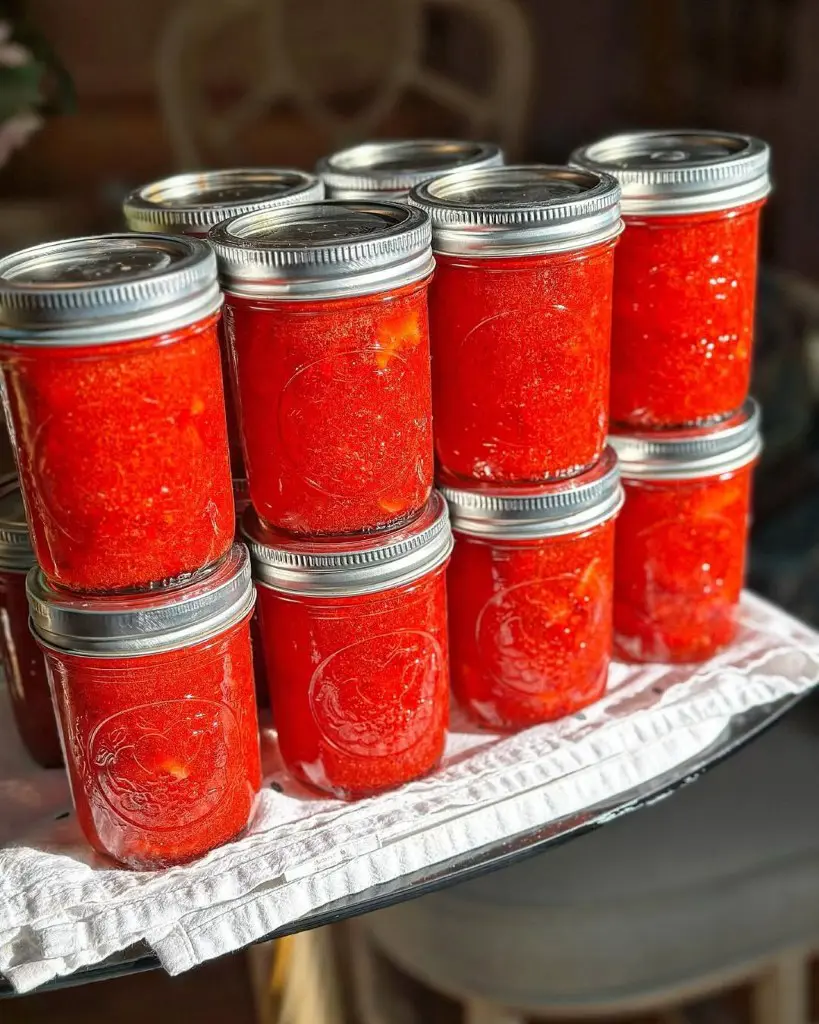
Carefully place the filled jars into a pot of rapidly boiling water. Cover the jars with at least 1 inch of water over them. Jars, 16 ounces, process for 15 minutes and 8 ounces for 10 minutes. Lift out with jar tongs and put onto a thick kitchen towel to let cool.

Step 7: Final Setting and Storage

Allow the jars to cool completely at room temperature. You may hear popping sounds as the lids seal - this is normal. It could be up to 24 hours to seal fully.

Press the center of the lid in each jar, it should not stick up or down. You can now use this jam as a spread or use it to make strawberry shortcakes, ice cream,m and many more.

Source : instagram

How To Make Strawberry Jam Without Pectin

Creating strawberry jam doesn't require store-bought pectin. Home cooks can use natural ingredients to achieve the perfect jam consistency with simple kitchen techniques.

The core strategy involves using fruits high in natural pectin. Lemon juice and green apples serve as excellent pectin sources. Green apple cores and skins contain high pectin levels that help thicken the jam without commercial additives.

Successful pectin-free jam relies on careful cooking techniques. Strawberries need extended cooking time to reduce moisture and concentrate natural sugars. Careful heat management and frequent stirring prevent burning while developing the right texture.

Sugar acts as a critical component in jam setting. Use approximately 3/4 cup of sugar per cup of crushed strawberries. This proportion helps create proper consistency and supports preservation. Sugar works alongside the fruit's natural properties to develop a rich, spreadable result.

Lemon juice provides additional setting support. Two tablespoons of lemon juice per four cups of strawberries activates natural fruit pectin and aids in achieving the desired thickness. The acid helps break down fruit structures, creating a more cohesive mixture.

Cooking times differ significantly from pectin-based recipes. Expect to spend 30-45 minutes cooking the strawberry mixture. The jam reaches the right stage when a small amount placed on a cold plate wrinkles slightly under finger pressure.

Homemade pectin-free jam may have a softer texture compared to commercial versions. The result highlights pure strawberry flavor without additional thickeners. Each batch represents a unique culinary creation tied directly to the fruit's natural characteristics.

Tips For Making Strawberry Jam

Source : instagram

Strawberry jam brings the vibrant flavors of summer into a delightful preserve. Creating this sweet spread at home connects us to traditional cooking methods, allowing us to capture the essence of fresh strawberries in every jar.

1. Selecting the Right Strawberries

Local, fresh strawberries are the foundation of outstanding jam. Pick up berries that are deep red, final and with no bruise or soft spots. To balance sweetness and natural pectin, combine fully ripe strawberries with slightly under ripe ones. Gently wash the berries and remove stems before starting your jam-making process.

2. Preparing Strawberries with Sugar

Allow strawberries and sugar to rest together before applying heat. This critical step helps the fruit release natural juices, creating a more flavorful and consistent jam.

The sugar will draw moisture from the strawberries, preventing potential burning during cooking. Let the mixture sit for about 30 minutes to develop rich flavors and ensure smooth preparation.

3. Jar Preparation and Cleanliness

Proper jar preparation protects your jam's quality and impedes spoilage. Wash the jars in hot soapy water and rinse thoroughly. Sterilize by either boiling for 10 minutes or utilizing a dishwasher with a sterilization cycle. Let the jars dry to perfection without even a hint of moistness.

4. Cooking with Careful Attention

Making jam requires constant monitoring and gentle heat management. Stir the mixture often to prevent burning and ensure even cooking. Use a heavy-bottomed pot to distribute heat evenly and reduce scorching risks. Watch the jam closely, noting its consistency and color as it transforms into a glossy, thick spread.

5. Sealing and Storing Your Jam

Create a secure seal on jam jars to maximize preservation and prevent mold growth. Use new lids and ensure they are tightly fastened. For long-term storage, consider water bath canning. When refrigerating, use airtight containers and devour within 4-6 weeks.

6. Pectin Perfection

Consider adding pectin for consistent jam texture, especially with very ripe strawberries. Commercial pectin helps achieve the ideal thickness and reduces cooking time. Follow package instructions carefully for best results.

7. Flavor Exploration

Experiment with subtle flavor additions to elevate your jam. A splash of lemon juice brightens the taste and aids preservation. A touch of vanilla extract or balsamic vinegar can add unexpected depth to your preserve.

8. Jam Readiness Technique

Master the cold plate method to test jam consistency. Chill a plate in the freezer before cooking. Drop a small amount of hot jam onto the cold plate and run your finger through it. When the jam wrinkles and doesn't immediately fill the path, it's ready to be jarred.

How Long Does Homemade Jam Last

Source : instagram

Taking the time to make homemade jam lets you enjoy the relish of the season but you need to know how to preserve and store for safe and appetizing eating.

Preparation method, ingredients, and the storage temperature play key roles in determining just how long a homemade jam lasts. Properly prepared and stored jam can remain safe and flavorful for an extended period.

The traditional water bath canning method, when executed correctly, provides the most reliable preservation technique. Proper storage is the key to maintaining jam quality.

Store your jam jars in cool, dark locations away from direct sunlight and heat sources. A pantry shelf or kitchen cabinet works perfectly. Temperature consistency prevents bacterial growth and maintains the jam's integrity.

Avoid humid environments, as moisture can compromise the jam's preservation.

Jam Shelf Life

Cleanliness plays a critical role in jam preservation. Use sterilized glass jars with airtight seals to impede contamination. Thoroughly wash containers with hot, soapy water and ensure complete drying before filling. This step eliminates potential bacteria and creates an optimal environment for long-term storage.

Unopened Jam

When properly canned homemade jam, an unopened jar can last 12-18 months. Always inspect the jar before use, checking for signs of spoilage such as:

  • Unusual mold growth
  • Off-putting odors
  • Changes in color or texture
  • Broken or compromised seal

Opened Jam

Once opened, refrigeration becomes essential. Expect the jam to sustain quality for approximately 30-45 days when stored in the refrigerator. Use clean utensils when serving to prevent introducing additional bacteria.

Freezer Jam Alternative

For those seeking a simpler preservation method, freezer jam offers an excellent alternative. This method preserves the fruit's fresh flavor and vibrant color.

Stored in freezer-safe containers, freezer jam can remain high-quality for up to 12 months. Remember to leave adequate space in the container for expansion during freezing.

Safety Recommendations

  • Always use clean utensils when handling jam
  • Check for spoilage before consumption
  • Refrigerate opened jams promptly
  • Follow precise canning instructions for traditional jam-making
  • Label jars with preparation dates for easy tracking

How To Use Strawberry Jam

Source : instagram

Sweet and packed full of flavor, strawberry jam can rev up meals and snacks into fun. Ripe strawberries picked at their best blended into this spread serve to open an entire world of delicious possibility for any foodie.

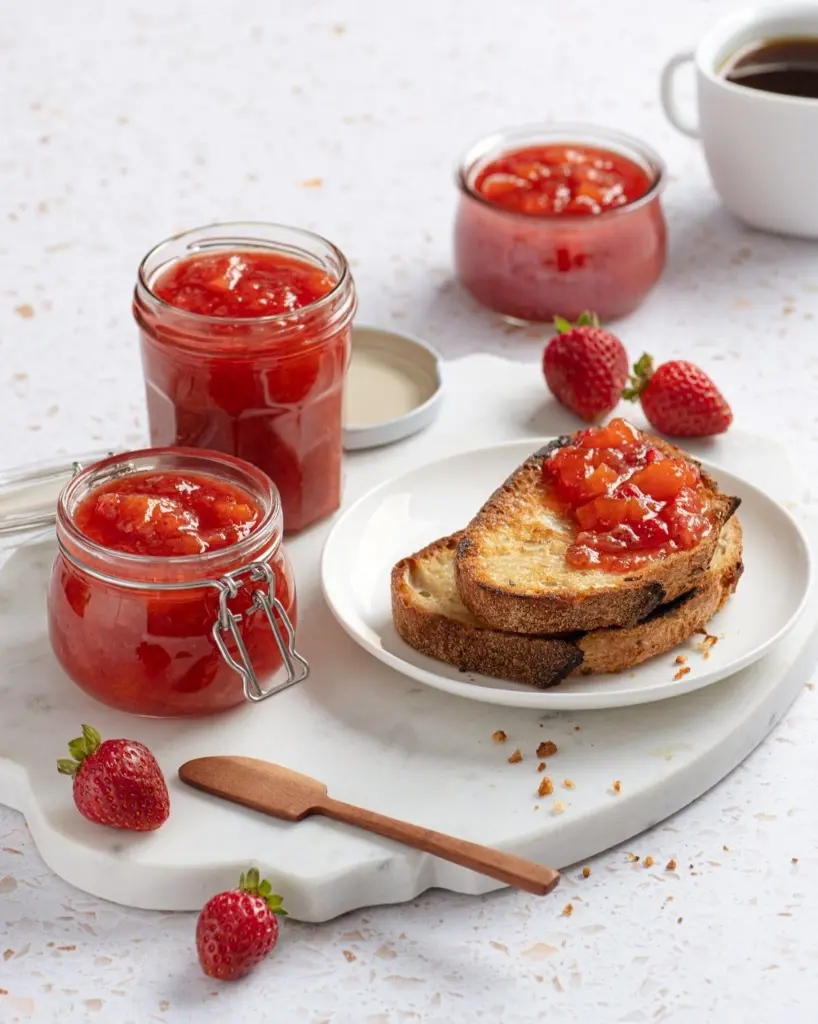
  • Spreads: Take a piece of warm, crisp toast or a soft, fluffy muffin. Gently spread strawberry jam across its surface, watching the deep red color create an inviting meal. The jam's smooth texture and fruity taste turn an ordinary breakfast into something special.
  • Ice Cream Boost: Serve a good sized spoonful of strawberry jam over creamy vanilla or strawberry ice cream. The jam brings a burst of ‘fresh’ relish to your dessert, making it more exciting and tasty.
  • Waffle and Pancake: Cook your pancakes or delicious waffles until they're golden brown and steaming. Drizzle or spread the bright red jam generously across the surface. Watch how it slowly melts into the warm grooves. Each bite brings together soft, warm breakfast and sweet, fruity goodness. The jam adds real fruit flavor that makes your meal memorable.
  • Yogurt Mix-Up: Change a simple yogurt into an exciting treat with strawberry jam. Pick your favorite plain or vanilla yogurt. Open the jam jar and get ready for flavor fun. Spoon in the jam, starting with a few tablespoons. Swirl gently to create red ribbons through the white yogurt. The colors blend into a beautiful pattern. Natural sweetness and strong strawberry flavor turn plain yogurt into a delicious snack that looks amazing.
  • Sandwiches: Build the ultimate peanut butter and jam sandwich. Grab two slices of fresh bread – soft white, hearty wheat, or your top choice. Spread creamy peanut butter on one slice. Cover the other slice with strawberry jam. Spread both right to the edges for flavor in every bite. Press the slices together to create a perfect mix of creamy, nutty, and sweet tastes. Cut diagonally and enjoy a lunch that brings pure happiness.
  • Cheesecake Topper: Make an ordinary cheesecake extraordinary with strawberry jam. Wait until the cheesecake is completely chilled. Spoon jam over the top, starting from the center and letting it spread towards the edges. Use a spoon to create elegant swirls. The bright red jam creates a stunning look against the creamy white cheesecake. Each slice becomes a delicious work of art, with jam adding a tangy-sweet flavor that complements the rich cheesecake.
  • Salad Dressing: Create a dressing that would really impress everybody. Merge strawberry jam with balsamic vinegar and olive oil in a small bowl. Whisk until smooth and glossy. The jam adds natural sweetness that balances the vinegar's tang. This unique dressing works perfectly on green salads, bringing an unexpected flavor burst. Drizzle over mixed greens, spinach, or fruit salad for a meal that surprises and delights.