Kitchen Tips

4 Best Ways To Ripen Kiwi At Home

Source : lovekiwis

Have you ever bought a kiwi and wondered whether it was ripe? Or did you carry that fruit home only to discover its distinctly unripe state when you were ready for it?

Kiwi is one of the most deliciously vibrant sweet-tart fruits that is highly nutritious with immune system boosting properties due to high levels of vitamin C However, an under-ripe kiwi can surprise as too sour and spoil any kind of dish made with them. So, here are 4 best ways to ripen this delicious fruit!

How To Tell If Kiwi Is Ripe

If you want to maximize the flavor of your kiwi, you need to know how to tell whether or not it is ripe. Eating them fresh or using them in recipes, ripe kiwis have the right kind of taste and texture that makes them suitable for both.

Luckily, there are easy procedures available with which you can also know a kiwi’s state of ripeness such as applying moderate pressure or observing its color and odor.

Check the Skin of Kiwi

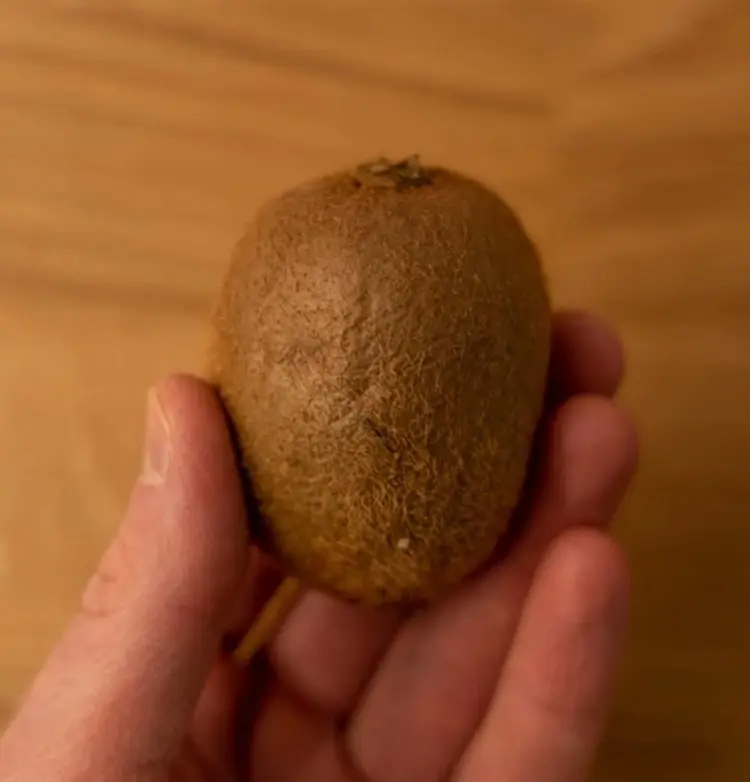
To get an idea of kiwi fruit skin, examine it closely. For instance, an ideal kiwi should have an evenly brown colored surface with no scratches and scabs. Avoid purchasing any kiwi that has noticeable bruises, wrinkles, or soft areas since it is likely to be damaged or overripe.

When squeezed gently, its surface should feel hard which implies that the inside pulp is still fresh, hence, you will get an idea if the fruit is ripe or not.

Firmness

Just apply pressure using your thumb and fingers. A fully ripened kiwifruit will slightly give in when pressed gently, signaling that its pulp is soft and juicy. If it feels firm, it means that it is still unripe and will taste sour.

It could mean that the kiwifruit might be overripe if it feels soggy or too soft, hence it may have no definite taste but rather have a pasty texture. 
Source : doesitgobad

Color

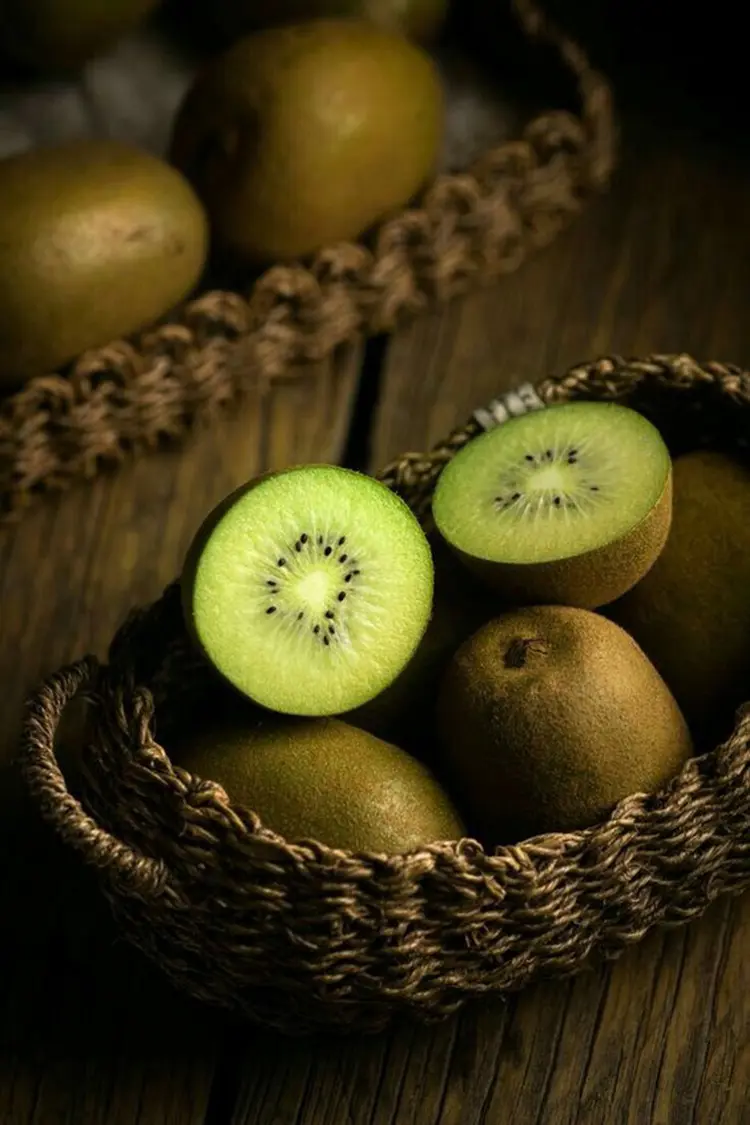
The hue of a kiwi’s skin might offer you hints, but it is not always the most reliable indicator of ripeness. Generally, kiwis have a brown and furry outer layer but the fleshy part can be green or golden depending on the kind.

Gold kiwis should have smoother and hairless skins while maintaining one color. Moreover, skin shades change hardly at all when kiwis get riper, therefore taking into account their feel is much more important than color.

Smell the Kiwi

From a distance, you might not be able to sense its odor, however, if held up to your nose, you will be able to smell a sweet citrus smell. This is an indication that the Kiwi is ripe enough for consumption. In addition, it has a light sweet fragrance a genuine sign that one should have it.

However, if there is any indication of overpowering sweetness such as a strong smell or a bit of fermented smell then chances are high that this particular fruit is too old and wouldn't taste good at all. 
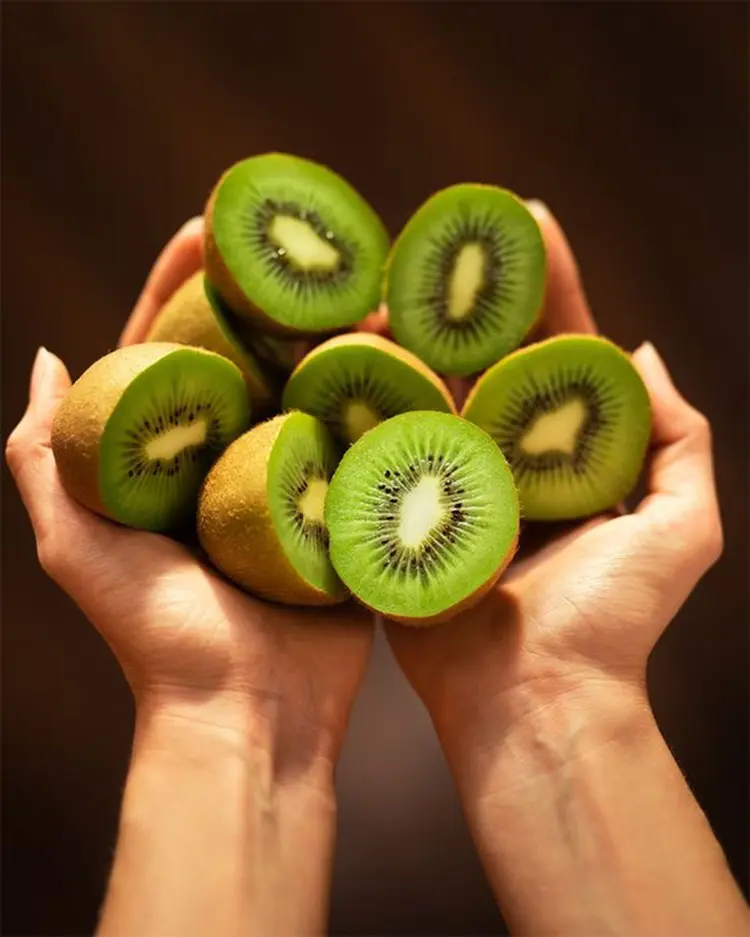
Ways to Ripen Kiwi At Home

Kiwis have a one-of-a-kind sweet-tangy taste which makes them tasty and full of nutrients. But there are instances when you might have hard and sour unripe kiwis that you can't eat right away. Luckily, there are a few easy ways it could be ripened at home.

If you want to include them in your fruit salad or just feel like munching on something completely ripe, these methods will enable you to turn sour kiwis into soft sweet treats. Here’s how to ripen kiwis quickly and easily in your kitchen.

1. Room Temperature Ripening

Ripening kiwi at room temperature is the most natural and easiest way of ripening it in your house. This enables the kiwis to grow slowly, developing the right taste and sweetness without any artificial assistance.

All that is needed is time and firm-fleshed unripe kiwi fruits will turn into tender mouth-watering fruits that can either be eaten plain or used in different recipes. If you prefer doing nothing much with your kiwi fruits but still want to have them often, then this technique is perfect for you.

Step 1: Select the kiwis

Take unripe, whole kiwis at your nearest grocery shop or market. You should choose fruits that are not discolored, excessively soft, or show any indication of fungus. When touched lightly, the kiwis should be firm.

Step 2: Prepare a suitable container

Look for a shallow bowl or fruit basket that is clean and let air circulate it. Avoid using deep containers which can promote spoilage through entrapment of moisture.

Step 3: Arrange the kiwis

Put the kiwis in a chosen container on a surface. Make sure they are not very crowded so that they may not grow unevenly. There should be enough space among them as that will help them ripen at their respective rate.

Source : pinterest

Step 4: Choose the right location

Settle the container of kiwis at room temperature far from direct sunlight. A kitchen counterplace or dining table usually works best for this purpose, its ideal temperature range is 65-70°F (18-21°C).

Step 5: Monitor the ripening process

You should regularly check on the Kiwis to see if they are getting ripe. Just use your thumb and put a bit of pressure on one fruit piece, if it is soft then it’s good. When it becomes too sweet smelling like wine then one can say it’s ripe.

Step 6: Enjoy or refrigerate

Kiwis become good for eating when you have waited a particular period for instance with the desired degree of softness. In this case, these fruits may not be consumed at once or they can stay fresh in any refrigerator for about one week maximum.

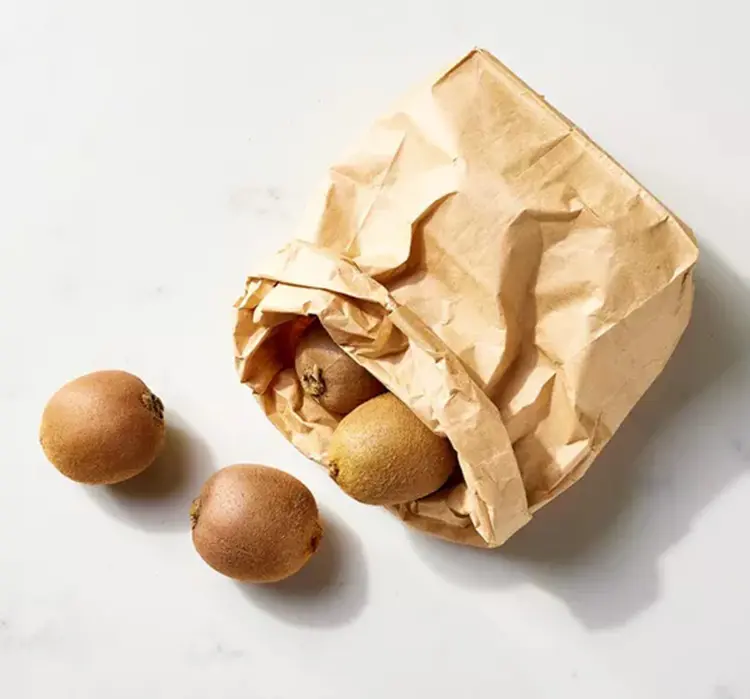
2. Paper Bag Method

The paper bag technique is a fast and effective way to ripen kiwis. This technique works on the ethylene gas produced by fruits, and it accelerates the process of ripening.

In such a small area, this gas may be trapped so that soft and sweet kiwis can be obtained from hard and sour ones within a few days. This method is especially suitable for those who want ripe kiwis sooner or earlier than later.

Step 1: Gather Materials

You will first have to find a paper bag that is sizeable enough to hold your kiwis without making them feel cluttered. The trick here is not allowing their surfaces to touch with each other inside the bag so that they don’t mature at an uneven rate or get bruised.

For this reason, a standard brown lunch sack will do but if you want to ripen more than just a few pieces go for grocery-type plastic sacks.

Besides that, you require an apple or banana which is already mature to act like an agent of nature’s ripening process. These fruits release ethylene gas which is a plant hormone responsible for speeding up ripeness.

The fruit selected should ideally be acceptable ripe without being overripe because if it is in the rotting stage then toxins from decaying fruits can seep through the skin causing damage to other good fruits, including kiwi.

Step 2: Prepare the Kiwis

To remove any dirt, pesticides, or residues from the skin of kiwis, wash them gently under running water before putting them in the bag. This makes sure that your kiwis are clean and safe for eating when they ripen. After rinsing, dry the kiwis with a clean towel or allow them to air dry thoroughly.

This process is very important because too much water on the inside of the bag will make it damp and may encourage mold growth or spoilage. Ensuring the kiwis are dry helps to keep them in the right atmosphere for ripening.

Step 3: Arrange in the Bag

Source : bhg

After making sure that kiwis are clean and dry, put them inside a paper bag. It is advisable to arrange them in such a manner that they are not touching among themselves because by doing so some may get bruised or ripen ununiformly.

Next, put in the paper bag which has a ripe apple or banana. The ethylene gas produced by an apple/ banana will circulate inside it accelerating the ripening of kiwis. This gas is trapped by the bag itself offering an ideal environment for softening and sweetening of these fruits.

Step 4: Close the Bag

To seal it, fold the top of the paper bag over several times. This will help trap ethylene gas within it to concentrate around the kiwi and fasten the process of ripening. Do not make it an airtight bag though, since kiwi fruits require some amount of airflow for them to ripen well without rotting or getting too soft and mushy.

The paper bag is made from such materials that can breathe allowing for a balanced environment in which kiwifruit can ripen on its own.

Step 5: Store and Monitor

A closed paper bag should be put at room temperature preferably in a cool dry place that comes away from direct sunlight or sources of heat. Check daily on Kiwis' progress checking on you.

Based on how hard they are when you first get them and how ripe the apple or banana is, kiwis should begin to ripen between 1 day to 3 days.

Every single day apply gentle pressure with your fingers to see whether it’s ready for eating. When under pressure they should show some softness.

Step 6: Remove When Ripe

Once the kiwis are soft to the touch and yield slightly under gentle pressure, they are fully ripe and ready to eat. Remove them from the bag to prevent further ripening, which could lead to over-softening or spoilage.

3. Rice Burial Technique

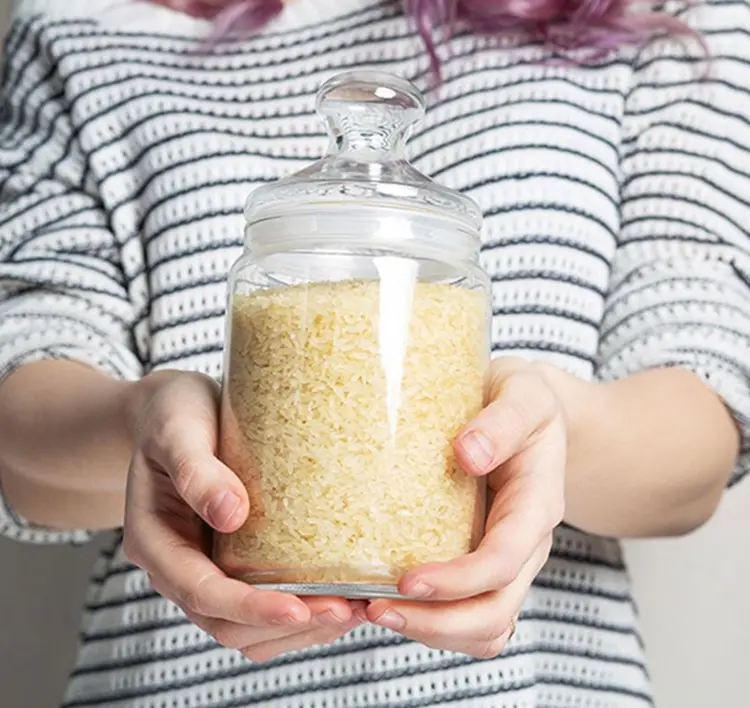
To facilitate kiwi maturation under perfect conditions, this process employs uncooked rice that absorbs ethylene gas emitted by kiwis to expedite ripening. It takes only some simple steps to regulate the maturation cycle of this fruit:

Step 1: Prepare the Rice

See that you get a good-sized bowl to hold the kiwis and the rice that will cover them completely. Just allow a little bit of rice into your bowl, this will be used later to completely submerge your kiwis. As they mature, kiwis release ethylene gas and hence, we can use uncooked rice as it absorbs this gas.

For you to trap the gases released when ripening takes place in kiwi fruits, surround them with raw grain thus promoting the process of softening these fruits while also making them sweeter.

Step 2: Bury the Kiwis

For curing unripe kiwis, put them carefully in the rice. This means that they should be entirely encased by the rice and not touching one another. This separation prevents any bruising and promotes even ripening of the kiwis.

At the same time, it is worth noting that the rice absorbs excess water and keeps inside it a dry environment, which prevents any possible spoilage while they are ripening.

Step 3: Cover the Bowl

The very first thing you should do is cover the bowl with either a cloth or plastic wrapping, this stage is vital since it establishes an environment that captures ethylene gas emitted by kiwis which speeds up its maturation rate.

Besides, it prevents dust and flies from getting into the bowl so that during ripening time these fruits will not be polluted or disturbed in any way.

Source : lacademie

Step 4: Store and Wait

After covering the bowl, position it in a cold and secluded area like a storeroom or cupboard. Such bowls must be kept away from direct sun rays or hot places because extreme temperatures can lead to excess ripening of kiwis, hence they might become unsuitable for eating before they become tender as desired.

This enables slow even ripening that enhances their natural sweetness and flavor.

Step 5: Check Regularly

You should keep an eye on kiwis more often so as not to let them overripe. Every one to two days carefully take out the kiwis from the rice and examine their firmness. Lightly press each kiwi to check if it yields slightly under pressure which shows that it is already ripe or not yet.

In case there are still hard kiwis, just put them back into the rice again and cover the bowl repeating the procedure until they reach appropriate levels of ripeness. 

Step 6: Clean and Enjoy

Ripened kiwifruit must be extracted from rice with extreme care, depending on what you want. Next, use a soft brush or cloth to gently scrub off any leftover grains of the rice. After that, the kiwis are now ready to eat! 

4. Avocado Pairing

The process involves pairing ripe avocados with unripe kiwis in a controlled environment that allows you to enjoy your perfectly ripened kiwis in less time. This method utilizes the ethylene gas that is normally produced by ripe avocados thus it offers a simple and effective way to ripen kiwis at home.

Step 1: Select Ripe Avocados

Pick 1 or 2 mature avocados that will serve as natural catalysts for fastening the ripening of your kiwis. Ripe avocados tend to feel softish at the touch, give in a little when pressed and are usually dark-skinned (almost black). 

Step 2: Prepare a Container

Next, look for a container that will comfortably fit both avocados and kiwis. Good enough for this job is a paper sack because it captures ethylene whilst permitting some air movement. However, if one does not possess a paper bag, a broad basin works fine as well. 

Step 3: Arrange the Fruits

Put the kiwis that are not yet ripe in the box along with the mature avocados. Place them near each other but do not allow them to touch, because doing so may interfere with correct development by causing bruises.

Source : thekitchn

Step 4: Create the Right Environment

Placed inside a bowl that has been loosely covered by either cloth material or plastic wrap. Hence, the ethylene gas will be trapped yet there will still be some air circulation that prevents the buildup of moisture and thus prevents possible growth of mold.

When using a paper bag, fold over its top part several times to close it hence achieving a similar effect. 

Step 5: Store and Wait

The prepared container should be left at room temperature and also not placed in an area that is directly exposed to sunlight. When kiwis are subjected to sunlight or unfavorable heat conditions, they tend to over-mature and rot before the time comes for them to ripe.

On the other hand, the ripening process will be slow and allow for the production of more sugar when kept at normal temperatures.

Step 6: Check Daily

Check the fruits daily. A ripe kiwi will give way a bit when you press it gently. If the kiwis are still hard, keep them in the same container together with avocados and check them every day. 

Step 7: Remove and Enjoy

The kiwis should be taken out if they have reached your preferred stage of ripeness. At this point, separating the avocados from the kiwis is advisable to avoid becoming too soft. Now, your kiwis are ready for consumption!