Kitchen Tips

Best Ways To Reheat Mac and Cheese

Source : facebook

There's just something about a hot bowl of mac and cheese that makes everything better. Kids love it, adults can't resist it - honestly who can say no when that cheesy goodness shows up? It's so rich though, we always end up with leftovers!

But reheated mac and cheese can sometimes turn tough and dry. Don’t worry! With the right approach and a little practice, you can revive it without losing its creamy goodness. Here are six popular methods to reheat mac and cheese.

1. Oven or Toaster Oven
Source : facebook

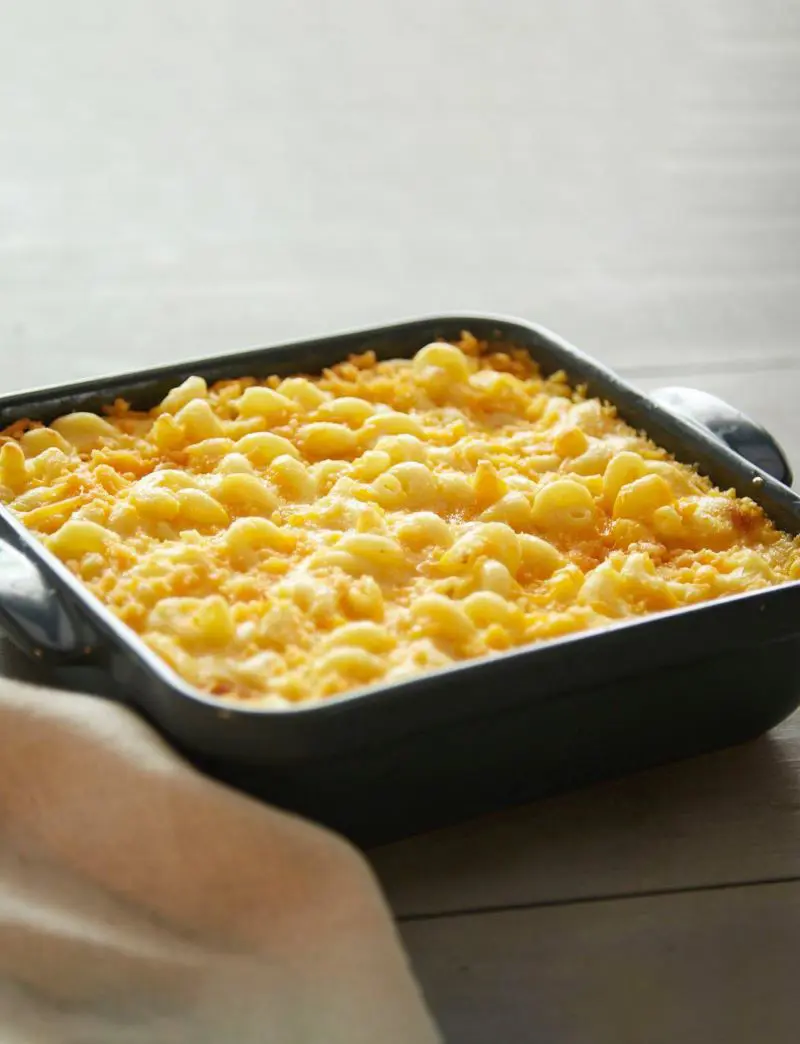
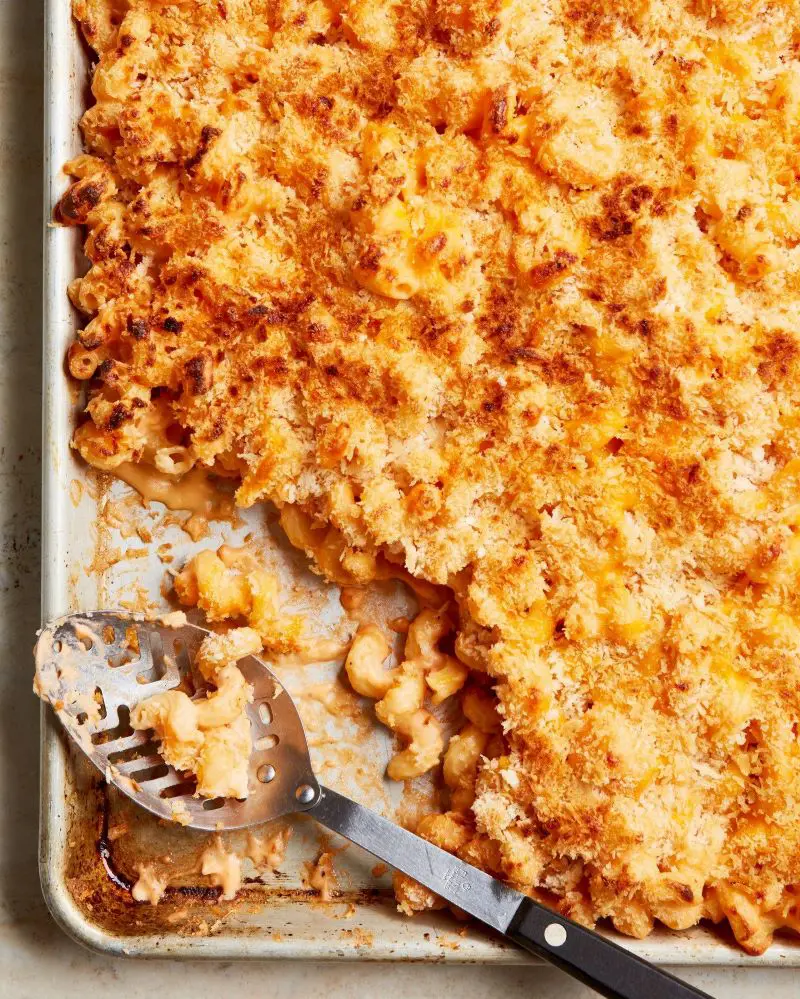
Most people know this trick for warming up leftover baked mac and cheese. It's really popular because it makes it taste just like when you first prepared it.

While it takes a bit longer, the results are totally worth it. This works really nicely when you have a big portion left or when you want that great crispy top again.

Instructions

  1. Begin by getting your oven nice and hot at 350°F for about 10 minutes. During this time, take the mac and cheese out of the fridge to start adjusting to room temperature.
  2. Find a baking dish that fits your leftovers. If it looks dry, just add some milk - a splash or two for each cup of pasta. Break up any lumps and mix it around.
  3. Here's the key part - place aluminum foil or a safe oven lid over the dish now. It’ll keep everything from drying out and trap the moisture in. If you had any crunchy bits on top, save them for later.
  4. Put your covered dish in the preheated oven. Let it warm up for approximately 20 minutes. Check if it's warm enough by sticking a spoon in the middle - if it needs extra time, give it another 5-10 minutes.
  5. Once it is heated through, you can make it even better. For a golden, crispy top, take off the foil and cook it uncovered for another 10 minutes. If you like it extra creamy, add a small pat of butter. Sure a sprinkle of shredded cheese will work too.
  6. Let it sit for about 5 minutes after taking it out. This helps everything settle and reach the perfect temperature for eating.
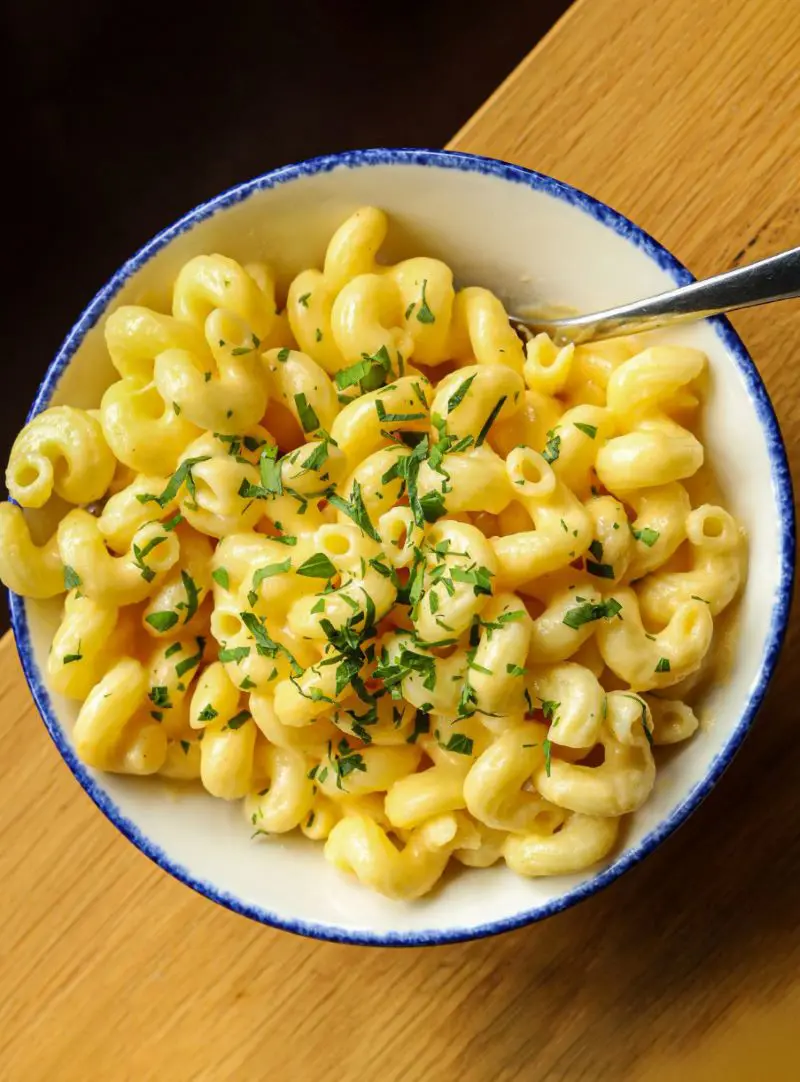
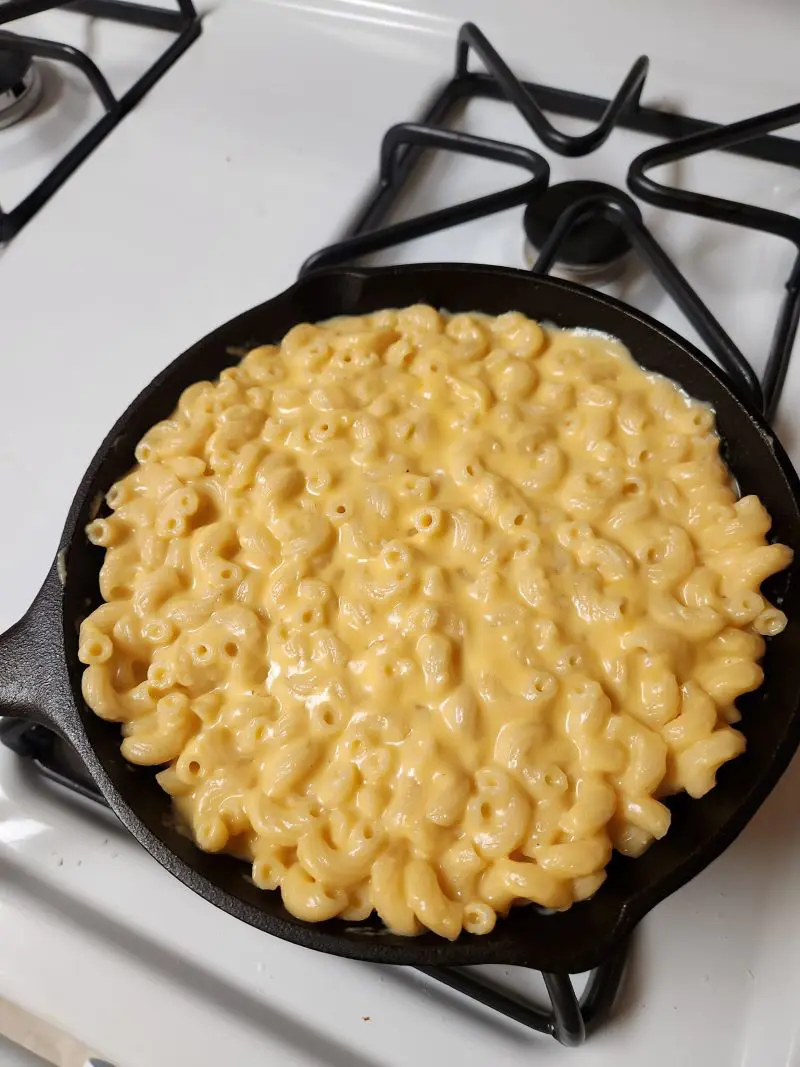
2. Stovetop

Source : facebook

The stovetop stands as a classic and reliable technique to bring leftover mac and cheese back to life. It gives you total control over the texture and temperature, making it best for quick weekday lunches and dinner leftovers.

When you are working with a single serving or want to adjust the creaminess as you go, this approach really shines. It's specifically handy when you need that fresh-made flavor without waiting for the oven to warm up.

Instructions

  1. Pull out a saucepan that's big enough for your leftovers but not too big - you want the mac and cheese to heat evenly. A non-stick pan works great if you have one.
  2. Put your pan on the stove over medium-low heat. Don't rush this by cranking up the heat - slow and steady wins here. Add about 2-3 tablespoons of milk for each cup of mac and cheese.
  3. Once the milk starts to warm up (you'll see tiny bubbles), add your mac and cheese to the pan. Break up any big clumps with your spoon. This helps everything heat evenly and blend with the milk.
  4. Keep stirring gently every minute or so. This is important as it stops the bottom from sticking and helps spread the heat around. If it looks too thick, add a splash of more milk. If it's too thin, let it cook a bit longer.
  5. After about 5-7 minutes, your dish should be getting hot. This is when you can make it even better. Try adding a small pat of butter or a handful of fresh shredded cheese. They'll melt smoothly and make everything even creamier.
  6. Your mac and cheese is good to go when it's steaming hot and has that perfect creamy texture. Give it a quick taste to test the temperature.

Remember to keep an eye on your pan and regulate the heat if needed. Too hot, and the bottom might stick; too cold, and it’ll take forever to warm through.

3. Microwave

Source : instagram

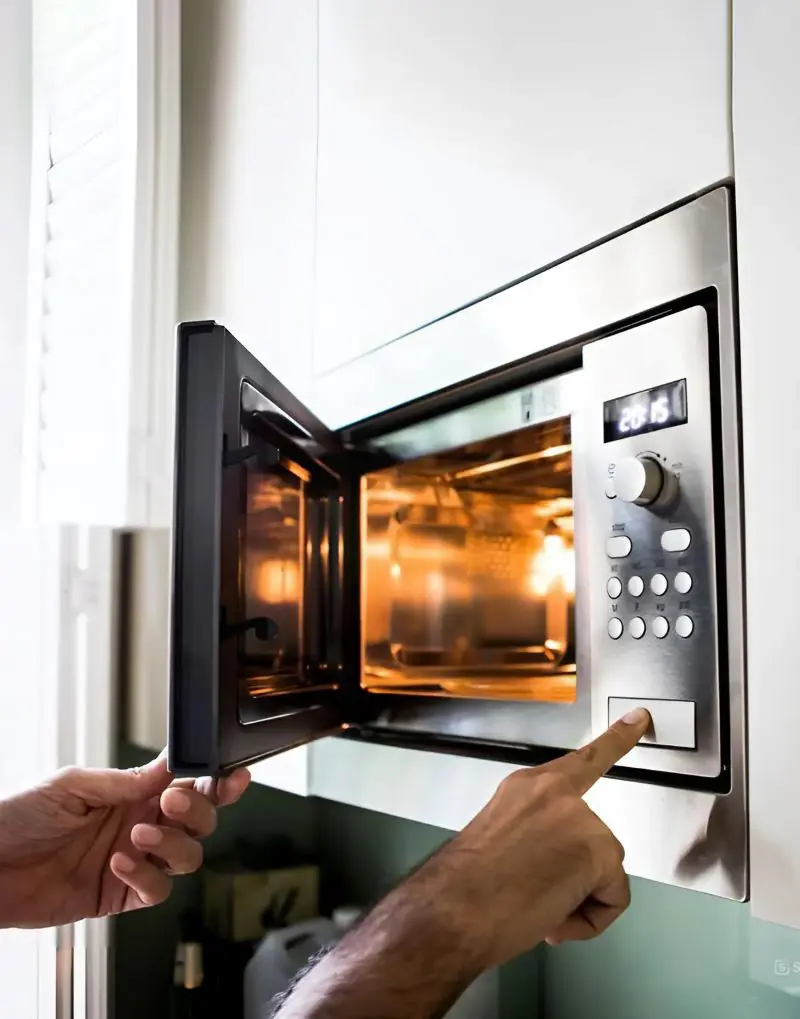
For brief, single-portion meals, the microwave gives the quickest way to savor leftovers. This works truly well when you're at the workplace, want a quick lunch at home, or simply craving a late-night snack.

While it won't provide you with that fresh-baked texture, it is incredibly handy and gets the whole job done in only a few minutes. Perfect for busy days when you want something warm and enjoyable without lots of fuss.

Instructions

  1. Find a microwave-safe bowl that's wide and shallow rather than deep. This helps your mac and cheese heat more evenly. If you use a deep bowl, the outside might get super hot while the middle stays cold.
  2. Add your mac and cheese to the bowl, but don't pile it up too high. Break up any big clumps. Then, stir the milk into the bowl.
  3. Use your spoon to spread the mac and cheese into an even layer. Think of it like making a little pasta pancake - you want it relatively flat and even. This helps everything heat at the same speed.
  4. Grab a microwave-safe plate or a damp paper towel and cover your bowl. This traps the steam and helps everything heat evenly. Plus, it keeps your microwave tidy by stopping cheesy splatters.
  5. Set your microwave to 50% power - this is crucial. Full power can make your mac and cheese rubbery or dry. Heat it for one minute to start.
  6. Take it out and give everything a good stir. Pay special attention to the edges and middle. Some spots might be hotter than others, so stirring helps even things out.
  7. Put it back in for 30 seconds at a time, stirring after each round. Usually, it takes about 2-3 rounds total, but this depends on how much you're heating up.
  8. Once it's hot enough, add a small pat of butter or a pinch of shredded cheese. Stir it in while everything's still hot, and it'll melt right in.

4. Air Fryer

Source : reddit

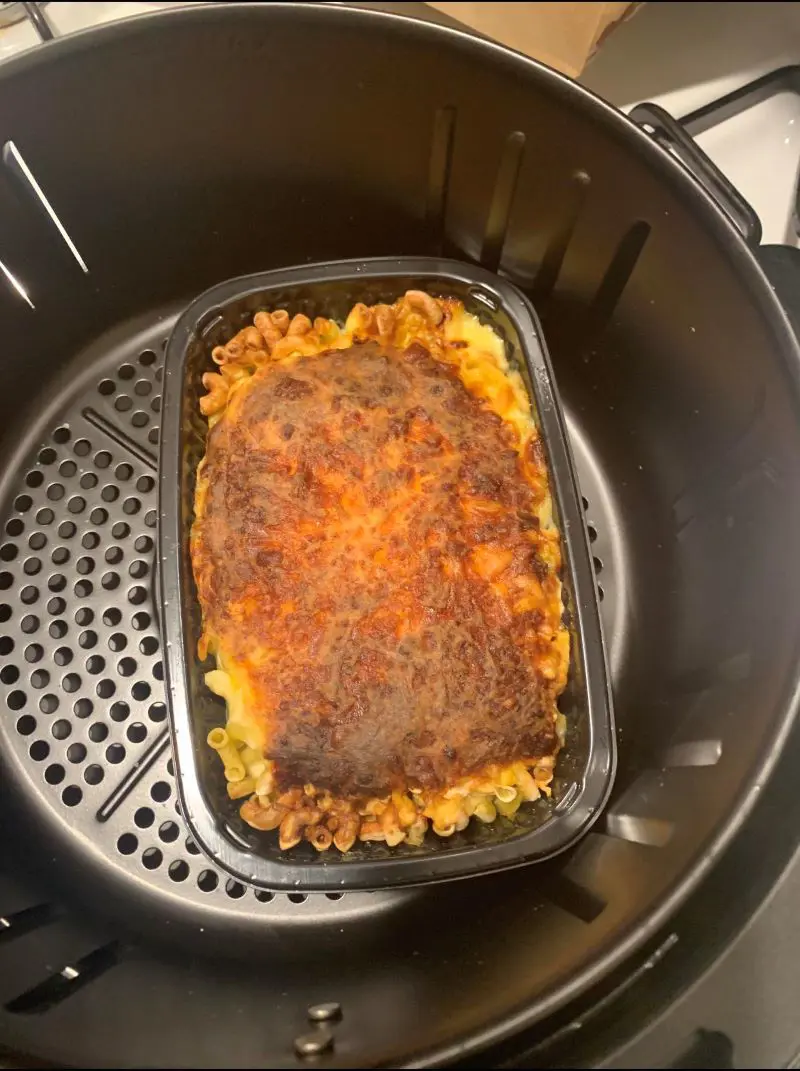
The air fryer makes warming up mac and cheese a treat, crisping the top while preserving the creamy texture inside. This modern approach works wonders for small to medium servings.

It is also ideal for people who love that extra crunch. The speedy heating time and minimum cleanup make it a preferred choice for busy weeknights or when you desire to give your leftovers a tasty makeover.

Instructions

  1. Heat your air fryer to 350°F and let it warm up for a few minutes. This helps ensure even heating right from the start.
  2. Choose an air fryer-safe dish that fits in your basket. A small metal or aluminum container works great. Make sure it's not too big or too small for your portion.
  3. Put your portion in the dish and spread it out evenly. Don't pile it too high - a layer about 1-2 inches thick works best for even heating.
  4. Carefully put your container in the air fryer basket. When using a disposable aluminum pan, check that it’s durable enough to prevent tipping.
  5. Close the basket and set the timer for 5-7 mins. The exact time depends on your portion size and how hot you like it.
  6. Around halfway through, open the air fryer and check your mac and cheese. Give it a quick stir if needed. The top will start getting crispy, while the inside stays soft.

Tip: Keep an eye on the top layer as it can get extra crispy pretty quickly. If you notice it browning too fast but the inside isn't hot enough yet, you can loosely cover the top with foil for the remaining time.

5. Waffle Maker

Source : facebook

Transform boring leftovers into crispy, golden mac and cheese waffles - an amusing twist that turns yesterday's dinner into today's thrilling meal. The waffle maker creates amazing crispy edges while keeping the interior warm and cheesy.

This creative approach works great for brunch, lunches, or when you need to jazz up leftovers for the children. Plus, these waffles come to be perfect handheld treats, ideal for dipping in your preferred sauces.

Instructions

  1. Plug in your waffle maker and set it to medium-high heat. Give it a good 3-4 minutes to get nice and hot. A well-heated iron makes all the difference in getting those crispy edges.
  2. Spray both the top and bottom plates with non-stick cooking spray. Don't pass this step - it is vital for easy removal later.
  3. Grab your cold leftover mac and cheese and make a ball about the size of your fist. It usually comes out to roughly 1 to 1½ cups depending on your appliance's capacity.
  4. Set the mac and cheese ball in the center of the waffle iron. Gently close the lid and press down. Don't force it - the mac and cheese will spread on its own.
  5. Let it cook for about 5-7 minutes. Look for steam coming out - when it begins to slow down, it is commonly a good signal your waffle is getting crispy.
  6. The waffle is prepared when it's golden brown and crispy on the outside. The edges have to be slightly darker than the center.
  7. Carefully lift the lid - if it sticks, give it some extra minutes. Use a plastic or wooden spatula to remove your mac and cheese waffle. It should be easy remove!
  8. Because waffle makers vary, you may need to modify the timing once you see how the first one turns out.

How To Reheat Frozen Mac And Cheese

Source : facebook

When time is tight, frozen mac and cheese is an easy solution if cooking from scratch isn’t an option. The method is to plan beforehand and allow it to thaw overnight inside the refrigerator. Then you can use any of the reheating methods we pointed out earlier.

But sometimes life gets busy, and you need to cook it straight from frozen. No need to worry - the oven does a great job, and your final meal will turn out perfectly creamy.

Instructions

  1. First, get your oven heated to 350°F. While it's heating up get your frozen mac and cheese out and get a baking dish.
  2. If it's stored in a freezer container, carefully pop the mac and cheese out in one whole piece. If it's stuck, run the bottom of the container under warm water for a few seconds.
  3. Pour a touch milk along the sides of the dish. This helps prevent the edges from drying out as it heats.
  4. Cover your dish tightly with aluminum foil or an oven-secure lid. This maintains the moisture in and helps the entirety heat evenly.
  5. Place your covered dish in the preheated oven. Since we are starting from frozen, this may take longer than usual - about 40 minutes.
  6. After the timer is up, test if it's heated nicely. Insert a knife in the middle - if it comes out hot you're all set to go. If not, give more baking time.
  7. Want a crispy top? Take off the foil, upload some shredded cheese or breadcrumbs if you want, and pop it back again in for some minutes till golden.

Which Is The Best Way To Reheat Mac And Cheese

Source : instagram

There's absolutely no single right way to heat up mac and cheese - it all comes down to what you need at the moment. Think about what device you have, how much time you can spare, and what kind of texture you are craving.

The oven is fantastic when you've got time. It's perfect for big portions and gives you that nice, even heat with a potentially crispy top.

The downside? It takes a good 30 minutes, and heating up the whole oven for a small portion might seem like overkill.

Stovetop reheating gives you amazing control over the whole process. You can adjust the heat, add milk bit by bit, and stir until you get exactly the texture you want. It's great for medium portions and brings back that fresh-made creaminess.

The catch is that you need to stand there and stir - no walking away like with the oven.

If you need it quick, use the microwave. It's super quick and works perfectly for single servings. Sure, you might not get that perfect texture, but with a little milk and careful heating, it can still be pretty good.

Just watch out for those hot spots and dried-out edges that microwaves sometimes create.

The air fryer is a fun twist that gives you something different - those crispy edges with a creamy center. It's quick like the microwave but adds that extra crunch factor. The only downside is you can't do huge portions at once.

The waffle maker is not conventional, but it is amusing and children in particular find it irresistible. Of course, you need a quality waffle maker, and it does change the entire texture of the dish.

In the end, the optimal approach is whatever works for you right now. There's no wrong answer - just different methods to experience your favorite comfort food.

Tips For Reheating Mac And Cheese

  • Match your reheating method: If you originally made stovetop mac and cheese, warming it up the same way helps keep that creamy, stirred texture. For baked mac and cheese, the oven works best.
  • Add a splash of milk: The pasta tends to soak up the sauce while sitting in the fridge, so adding just a bit of milk helps bring back that creamy smoothness. Start with a little - you can always add more if needed.
  • Don't rush the process: Whether you're using the stove, oven, or microwave, gentle heat is your friend. High heat can make the cheese separate and get oily, or worse, burn the bottom while the middle stays cold.
  • Break up cold clumps: Cold mac and cheese likes to stick together, so use a spoon to break it up a bit. This helps everything heat more evenly and lets any added milk mix in better.
  • Watch your portions: Smaller portions heat more evenly than big ones. If you're warming up a big batch, consider splitting it up or giving it more time and stirring occasionally.
  • Be patient with frozen mac and cheese: Let it thaw inside the fridge if you can - it'll heat up nicely that way. If you are in a hurry and heating from frozen, give it more time and keep it covered to prevent drying.
  • Trust your eyes and nose: When steam starts coming out and it smells yummy, it's probably done. Stir it around and try a bite - you'll know when it's perfect.

How To Serve Reheated Mac And Cheese

Source : facebook

  • Breadcrumb Topping: Mix some breadcrumbs with a bit of garlic powder and toast them - they add a nice crunch on top. The contrast between creamy pasta and crispy top is simply unbeatable.
  • Bacon Bits and Green Onions: Sunday brunch gets better with crispy bacon pieces and fresh green onions on top. The salty bacon and fresh onions wake up the rich, cheesy flavor. Perfect when you want something a little more substantial.
  • Sliced Hot Dogs or Sausages: Kids absolutely love this combo! Slice up hot dogs or sausages and stir them in - kids love this. It's an easy way to whip up plain homemade mac and cheese into a proper dinner.
  • Buffalo Chicken Style: Tear up some rotisserie chicken, toss it in buffalo sauce, and add it as a layer. Add some ranch if you want. This works great for game day gatherings or when you're craving something with a kick.
  • Steamed Broccoli: Want to feel a bit healthier? Steamed broccoli florets mixed in not only add color but make it more nutritious. The cheese sauce coats the broccoli perfectly - even veggie skeptics might approve!
  • Pulled Pork Topper: Layer some warm pulled pork on top for a southern twist. The homemade barbecue sauce adds a candy and tangy taste that works exceedingly well with the cheese. Perfect for casual gatherings.