Recipe

How To Make Buttercream Frosting

Source : facebook

Nothing beats the cloud-like swirls of homemade buttercream frosting. This classic topping makes everything better - from simple cupcakes to towering layer cakes.

Skip the store bought tubs and learn how to whip up silky smooth frosting at home. The process takes just minutes, and the results are absolutely worth it. Plus, there's something special about telling guests "the frosting is homemade!"

What You Need For Making Buttercream Frosting
Source : instagram

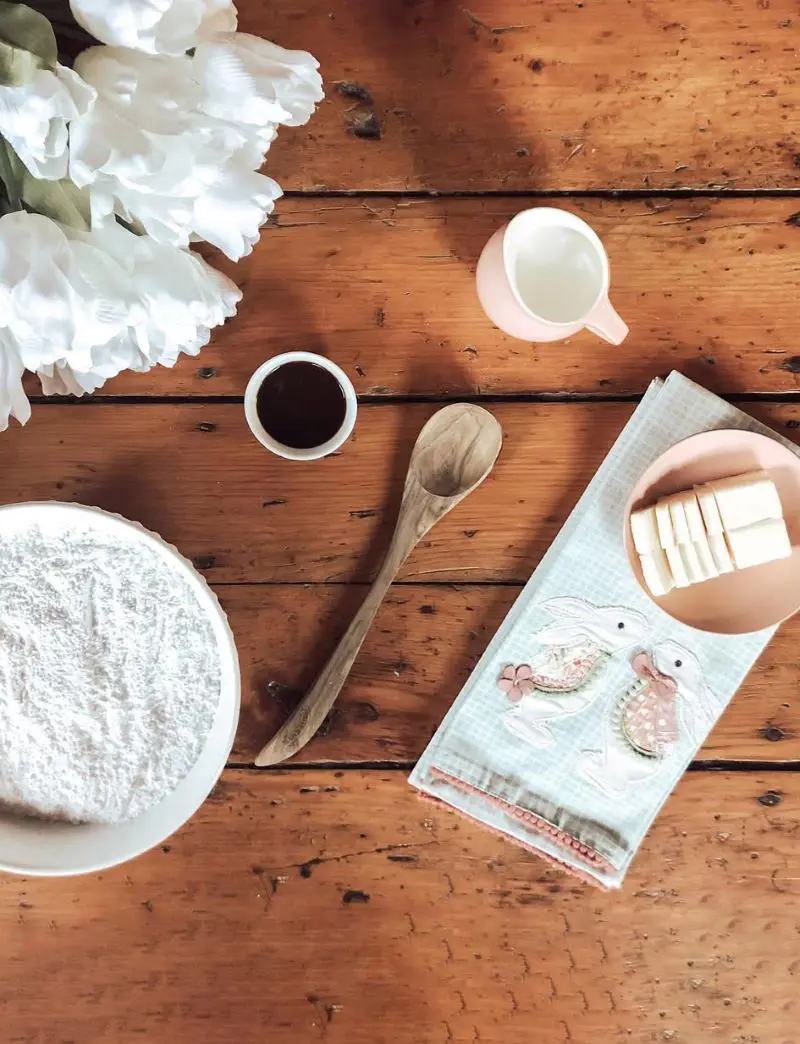
The magic of this frosting is in its effortless simplicity. No fancy components are required - just basic kitchen staples that come together like magic. Having everything measured and ready makes the whole process flow smoothly. 

Let's walk through what you'll need to create perfect buttercream every time:

  • Butter: Here's the foundation of great buttercream. Always go for unsalted butter - it lets you control the exact amount of salt in your frosting. Different brands of salted butter vary too much, which can throw off the taste. And stick to real butter, not margarine. Your taste buds will thank you.
  • Powdered Sugar: Look for powdered sugar (sometimes called confectioners' or icing sugar) in your baking aisle. While sifting helps prevent lumps, plenty of bakers skip this step without issue. The fine texture dissolves beautifully into butter, creating that classic smooth finish.
  • Liquid: Heavy cream makes exceptionally rich, smooth frosting. While regular milk works in a pinch, cream adds an extra touch of luxury. The liquid helps achieve that perfect spreadable texture that glides onto cakes like a dream. Use what you have or what you prefer.
  • Vanilla Extract: Pure vanilla extract brings that cozy, timeless flavor that makes frosting utterly irresistible. If you desire a fresh touch, you can even make vanilla extract at home for a rich, authentic taste. Opting for real vanilla extract over artificial flavoring creates a clear, noticeable improvement in taste.
  • Salt: Just a tiny pinch does amazing things. Salt might seem weird in frosting, but trust your kitchen friend here - it makes sweet things taste sweeter and brings out all that gorgeous butter flavor. Without it, frosting can taste a bit flat. With it, it becomes pure magic.
How To Make Buttercream Frosting At Home: Easy Steps

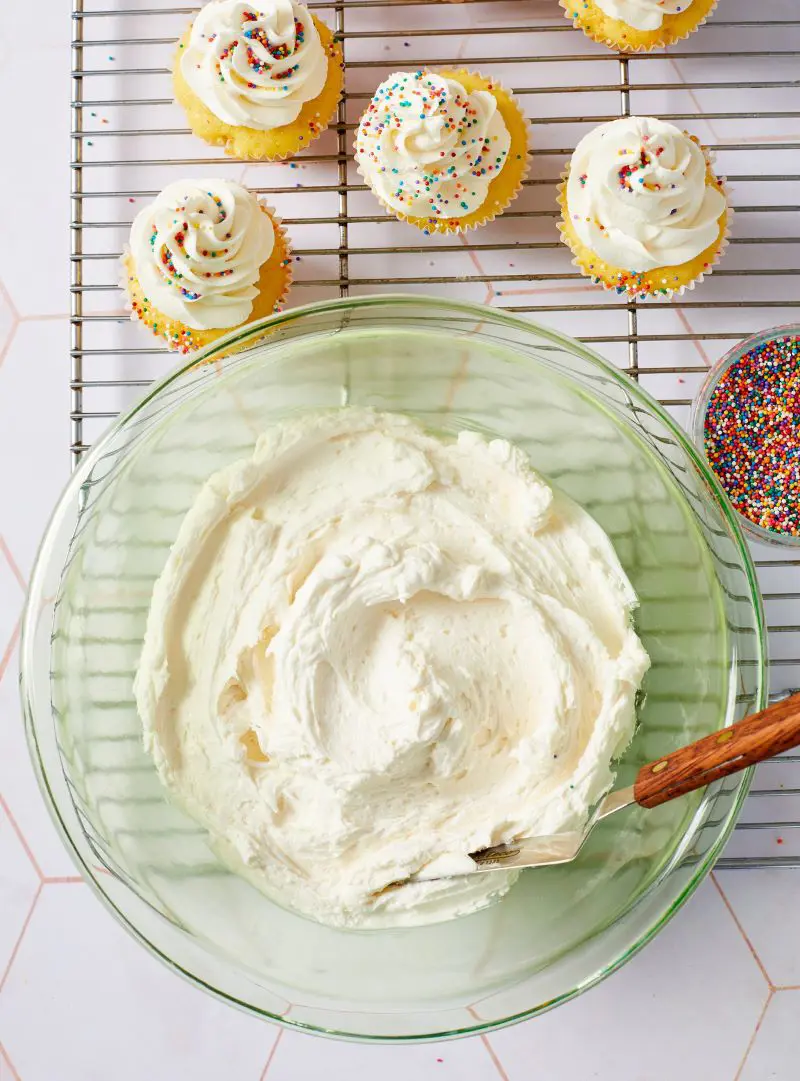
There is something deeply satisfying about creating frosting from scratch. While opening a container might seem easier, self made buttercream frosting tastes fresher and spreads perfectly.

Plus, the sense of accomplishment when those first creamy swirls come together is unbeatable. Feeling inspired? Let’s whip up some magic together in the kitchen.

Ingredients

  • 1 cup unsalted butter, softened
  • 3½ to 4 cups powdered sugar
  • 1-2 tablespoons heavy cream
  • 1 teaspoon pure vanilla extract
  • Small pinch of salt

Instructions

Step 1: Prep Your Workspace

Take the butter out of the fridge 30-60 minutes before starting - this timing sweet spot gives perfectly softened butter that's ready for creaming.

The butter should feel cool but yield easily when pressed, holding a finger impression without looking greasy. While waiting, measure out other ingredients and set up the mixer.

For extra-smooth results, sift that powdered sugar, but don't stress if you prefer to skip this step.

Step 2: Create the Butter Base

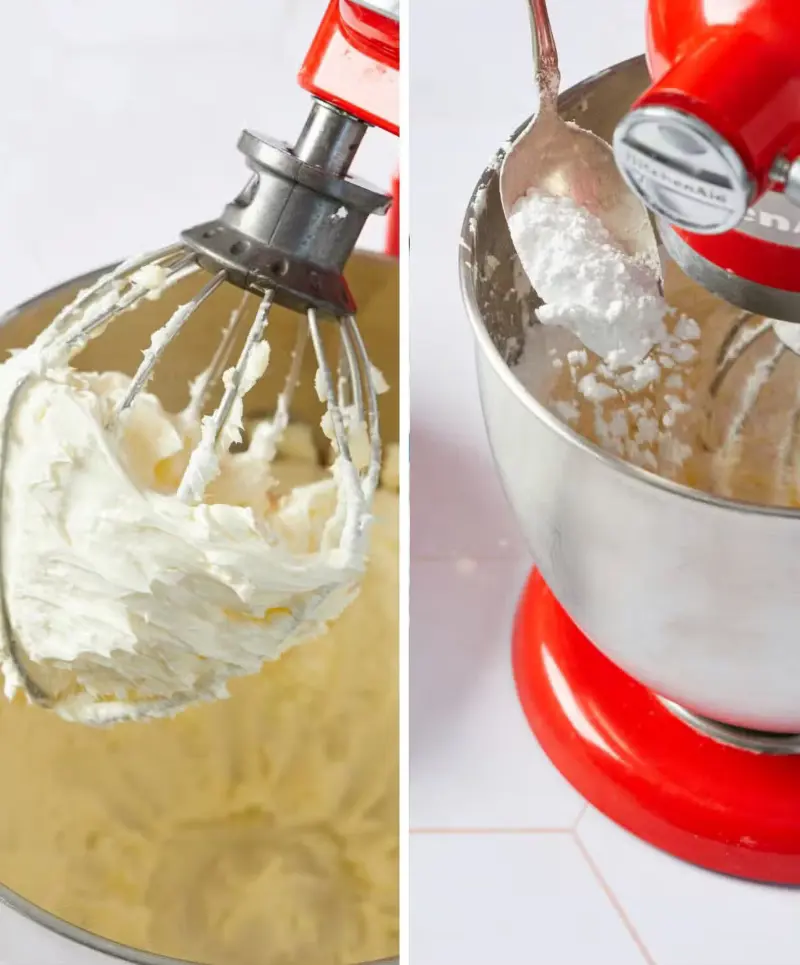
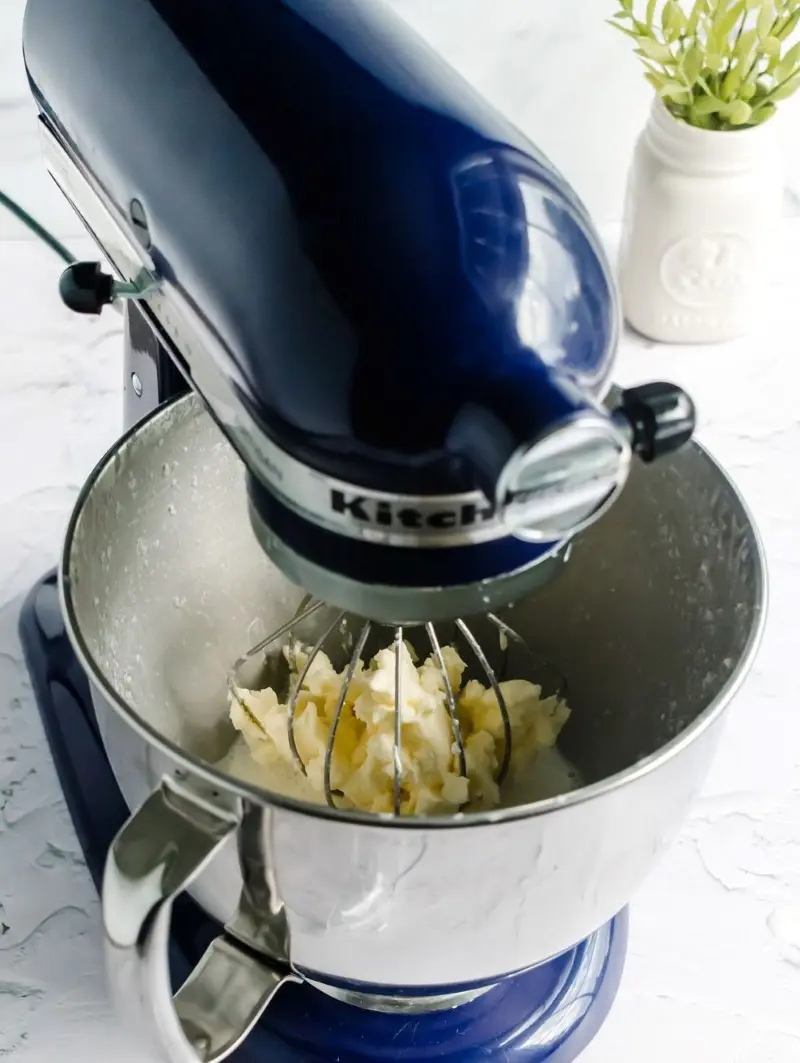
Now comes the foundation of great buttercream frosting. Pop that softened butter into the mixer bowl and attach the paddle (not the whisk!).

Start beating on medium speed, watching the butter transform from firm and pale to light and creamy. Take about 2-3 minutes here - the butter should look almost whipped, with no lumps in sight.

Scrape down the sides of the bowl a couple times to make sure everything gets properly mixed.

Source : instagram

Step 3: Sugar Symphony

Here's where patience pays off. Turn the mixer down to low (unless you enjoy wearing powdered sugar!) and start adding the first 3 cups of sugar bit by bit. Think steady stream rather than dumping it all at once.

Once each addition disappears into the butter, add more. After all that initial sugar is in, bump up the speed to medium-low and let it mix until the sugar and butter combine nicely- about 2 minutes.

Scrape down the bowl again to catch any rebels hiding at the bottom.

Source : facebook

Step 4: Flavor Time

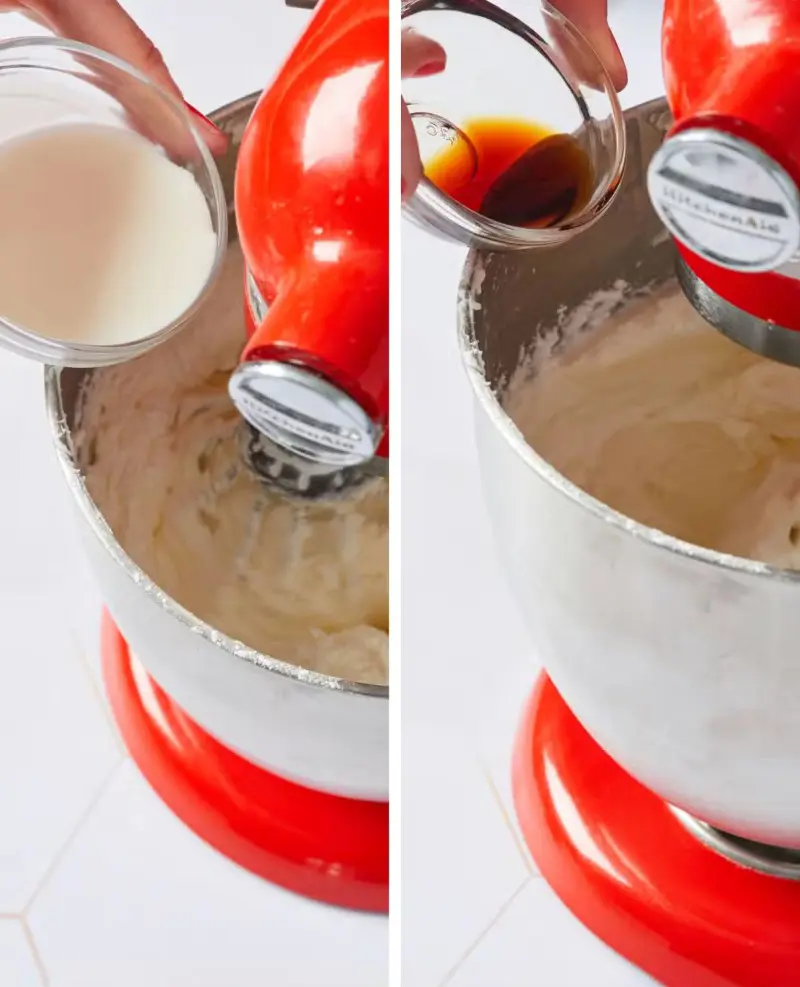
With the mixer running on low, pour in that lovely vanilla extract and the first tablespoon of cream. Add a pinch of salt if using.

These ingredients bring personality to the mix - the vanilla adds depth while the cream helps create that perfectly smooth, spreadable texture we're after.

Let everything mix together until the cream disappears completely into the mixture.

Source : facebook

Step 5: Perfect the Texture

Beat everything on medium speed until the frosting looks smooth and creamy - about 3 minutes. Now's the time to adjust the texture. Want to pipe fancy flowers? Add more sugar gradually until it holds its shape firmly.

Planning to spread it on? Keep it a bit softer. Add the remaining cream if things look too stiff, or more sugar if it's too soft. The perfect texture should hold a soft peak when you lift the beater.

Source : instagram

Step 6: The Final Fluff

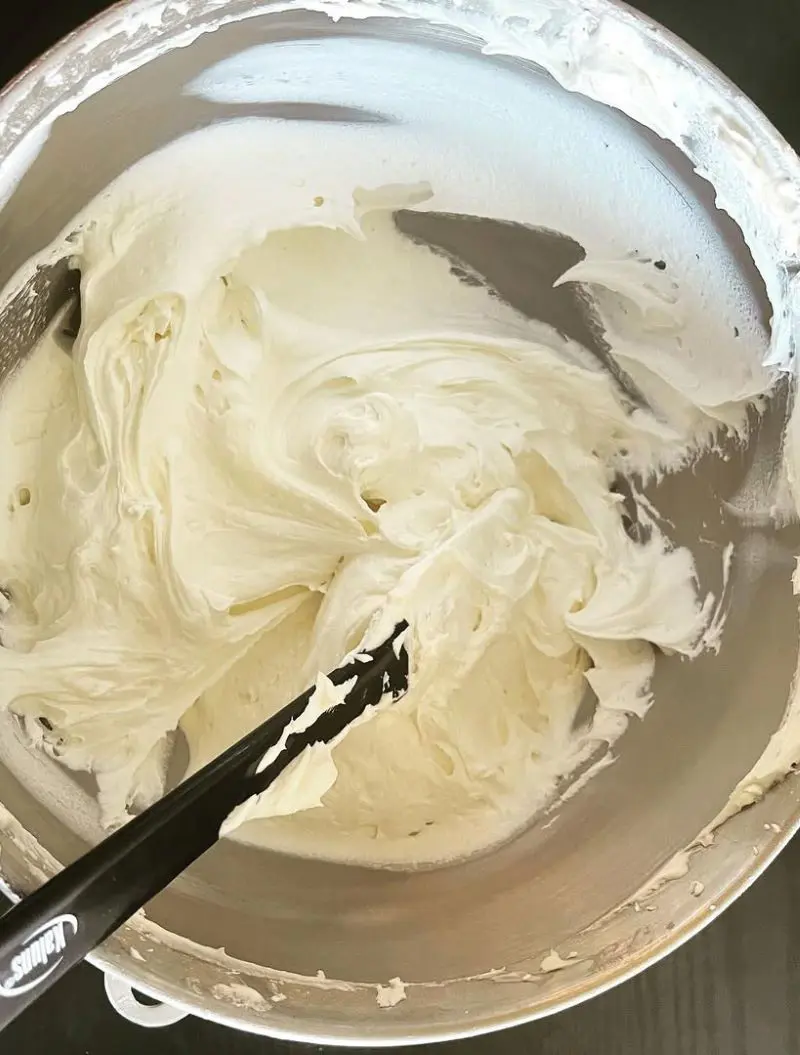
Time for the grand finale! Crank up the mixer to medium-high and let it whip for a good 4-5 minutes. Watch as your frosting transforms into clouds of buttery goodness.

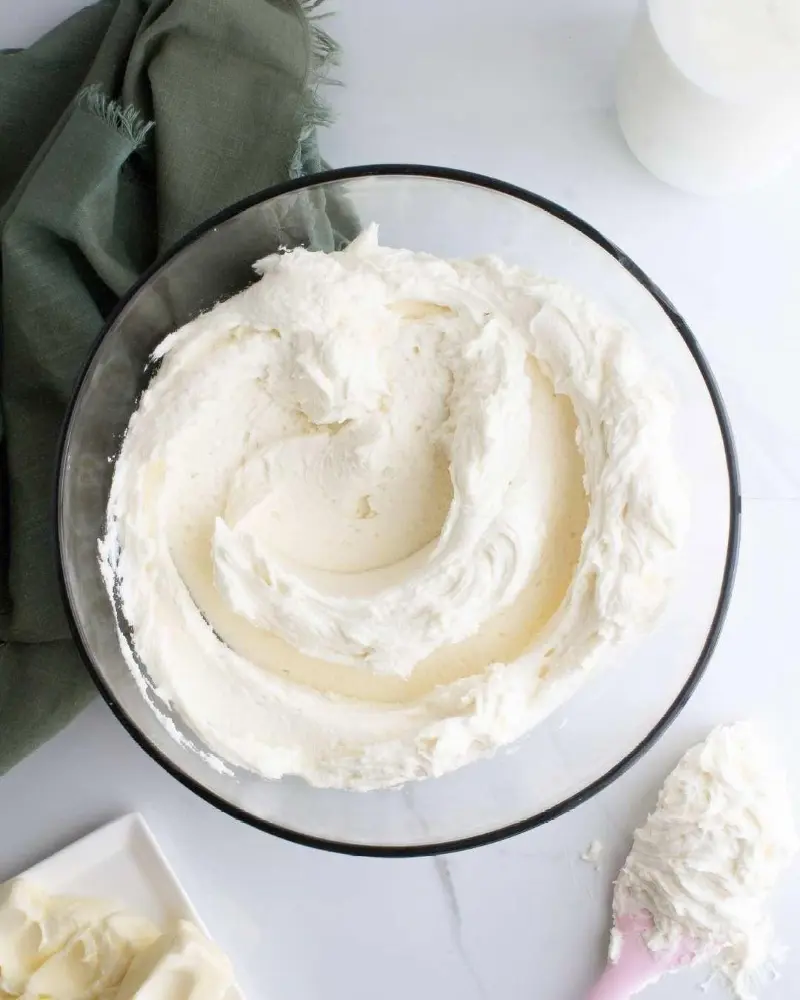
This step incorporates tiny air bubbles that make the frosting light and fluffy while ensuring everything is perfectly combined. The color will lighten slightly, and the texture will become almost mousse-like.

Once it looks billowy and holds its shape well, give it a taste - just to make sure it's perfect, of course!

Source : instagram

Tips For Making The Best Buttercream Frosting

  • Room Temperature is Everything: Forget what anyone says about softening butter in the microwave - that's asking for trouble. Take the butter out a good hour before starting. When it gives slightly to a gentle poke but still feels cool, that's your sweet spot. And yes, this means planning ahead, but your frosting will thank you.
  • Master the Whipping Time: Start with 5-7 minutes of whipping that butter alone. Sounds like forever, but watch how it changes - gets pale, fluffy, almost like whipped cream. That's the foundation of silky frosting right there. Once it's that pale ivory color, you're golden.
  • Add a Secret Ingredient: A splash of heavy cream at room temperature changes everything. Not milk, not half-and-half - real heavy cream. Add it right at the end, after all your sugar is mixed in. The frosting suddenly becomes this silky, cloud-like dream.
  • Fix the Graininess: Grainy frosting can be frustrating, but the fix is often simple. Pop that mixing bowl over a pan of barely simmering water for about 10 seconds. Just enough to slightly warm the bottom of the bowl. Keep mixing and watch that graininess disappear like magic.
  • The White Frosting Trick: Want pure white frosting instead of off-white? Add the tiniest drop of violet food coloring. Sounds unusual, but it cancels out that buttery yellow tint. Just the smallest amount - we're talking dip-a-toothpick tiny.
  • Storage Secrets: Always press plastic wrap right against the surface before refrigerating. No air gaps! This prevents that crusty layer on top and keeps the frosting fresh longer.
  • The Professional Touch: For those picture-perfect frosting swirls, switch to the paddle attachment for the final mix instead of the whisk. Gets rid of those pesky air bubbles and gives you that smooth, professional finish everyone swoons over.

Popular Buttercream Frosting Variations

Source : facebook

1. Chocolate Buttercream Frosting

Nothing transforms a simple cake into something spectacular quite like this forsting. The deep, rich flavor comes from blending melted chocolate or cocoa powder into classic buttercream.

Make it milk chocolate sweet or darkly decadent - both work beautifully. This frosting spreads smoothly between layers and pipes perfectly onto cupcakes. The trick lies in letting the melted chocolate cool before mixing it in.

This frosting shows up everywhere from birthday parties to fancy dinner parties, and it never disappoints.

2. French Buttercream Frosting

Talk about luxury - French buttercream is like the fancy cousin in the buttercream family. It gets its amazing richness from egg yolks and a hot sugar syrup, creating something that tastes almost like a whipped custard. 

While it needs a careful hand to make, pouring hot syrup into whipping egg yolks before adding butter, the results are absolutely worth the extra effort.

This frosting has a natural yellow tint and a flavor rich enough to make any type of cake feel special.

3. Strawberry Buttercream

Here comes summer in frosting form. Ground freeze-dried strawberries give this buttercream its fresh, natural berry flavor and pretty pink color. No artificial stuff needed - just pure strawberry goodness mixed right into classic buttercream.

The finished frosting stays perfectly pipeable while tasting like fresh-picked berries. This one brightens up spring parties and makes gorgeous cupcakes.

The natural pink color and real fruit flavor make it especially lovely for showers and celebrations.

4. Swiss Meringue Buttercream

Some frostings just feel extra special - that's Swiss meringue buttercream. Warming egg whites with sugar then whipping them to glossy peaks creates the base for this silky smooth frosting.

Adding butter turns it into pure velvet. Less sweet than classic buttercream, with the smoothest texture around. Takes more time to make but creates the most elegant cakes.

Wedding bakers love how perfectly it spreads and holds its shape. This frosting elevates any cake into something truly memorable.

How To Use Buttercream Frosting

Source : unsplash

  • Layer Cake Filling: One of the most classic uses - spreading a generous layer between cake tiers. Start from the center and work outward, making sure to get right to the edges. The frosting acts like tasty glue, holding those layers while adding moisture and flavor.
  • Basic Cake Coating: Creating that smooth outer layer takes practice but starts with a good crumb coat. Spread a thin layer all over the cake to seal in any loose crumbs, let it crust, then add the final coat. Use a bench scraper held at an angle for those perfectly smooth sides.
  • Piped Borders and Details: From simple shell borders to elaborate roses, piping adds that professional touch. Switch up piping tips for different effects - star tips make gorgeous rosettes, while round tips create classic dots and pearls. The frosting needs to be just stiff enough to hold its shape but soft enough to pipe smoothly.
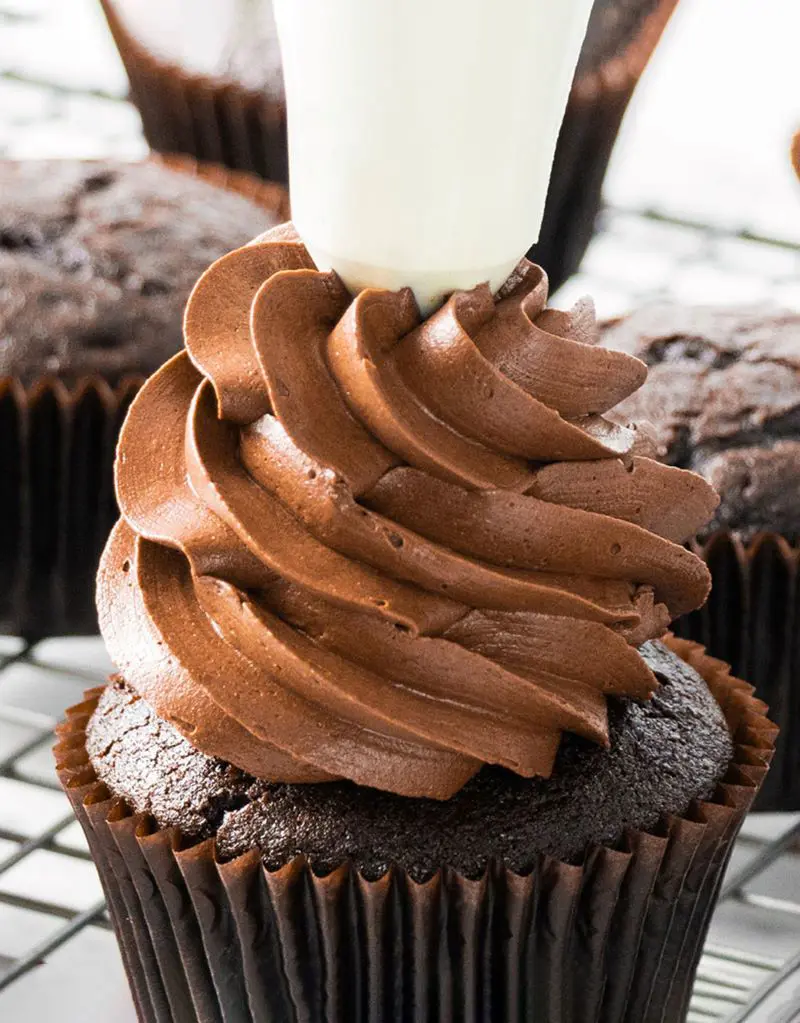
  • Cupcake Swirls: Those gorgeous bakery-style cupcake tops start with the right consistency buttercream. Starting from the outer edge, apply even pressure while moving toward the center in a spiral. The frosting should be slightly stiffer than for cake coating to hold those beautiful swirls.
  • Filling for Cookies and Macarons: Sandwich cookies become extra special with a buttercream filling. The frosting needs to be a bit stiffer here so it stays put when the cookies are bitten into. This works wonderfully for sandwich cookies, macarons, and whoopie pies.
  • Writing and Simple Designs: Messages and basic decorations need buttercream that holds its shape but flows smoothly. Use a small round tip for writing - the frosting should be soft enough to flow without breaking but stiff enough to maintain clean lines.
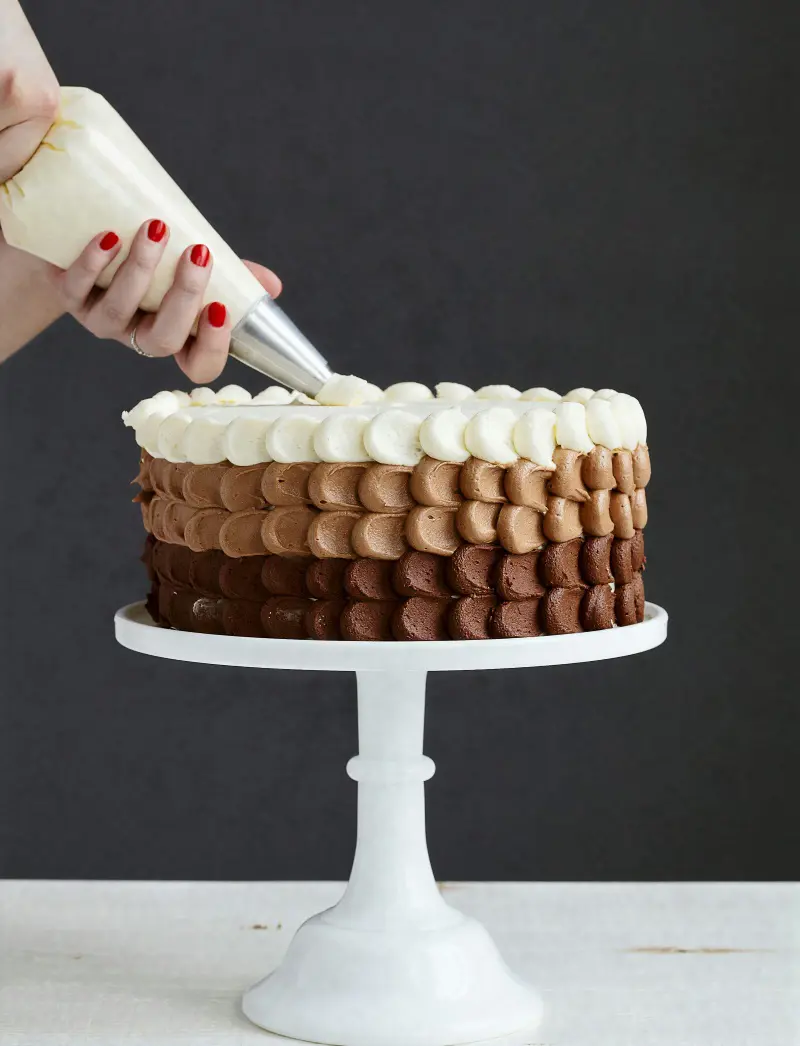
  • Color Block Decorating: Create stunning designs by dividing buttercream into different colors and applying them in sections. This technique works beautifully for geometric patterns or ombre effects. The frosting consistency should match across all colors, usually medium-stiff for good stability.
  • Textured Finishes: From rustic swirls to basket weave patterns, buttercream can create amazing textures. Use different tools like combs, spatulas, or even textured mats to imprint patterns into a smooth coat of frosting.

How To Store Homemade Buttercream Frosting

Source : instagram

Proper storage helps maintain the perfect texture and flavor of self made buttercream frosting. With the right storage methods, this creamy delight can stay fresh and ready to use for days or even months.

Making buttercream ahead of time saves precious hours during busy baking days. While room temperature works for short periods, refrigeration or freezing gives the best results for longer storage.

In the Refrigerator

Place the buttercream in an airtight container, leaving some space at the top. The frosting stays fresh for up to 3-5 days when refrigerated properly.

For best results, press plastic wrap directly onto the surface of the frosting before putting the lid on - this prevents a crust from forming and keeps the texture perfectly smooth.

When ready to use, let the frosting sit at room temperature for about 2 hours. Once softened, give it a good stir or a quick spin with the mixer to bring back that fluffy, spreadable consistency.

In the Freezer

For longer storage, the freezer works wonderfully. Transfer the buttercream to a freezer-safe container or heavy-duty freezer bag. Remove as much air as possible to prevent freezer burn.

The frosting stays fresh for up to three months. To use, move the frozen buttercream to the refrigerator overnight. Once thawed, let it reach room temperature, then re-whip until light and fluffy.

This brings back the original smooth, creamy texture perfect for spreading or piping.