Recipe

How To Make A Beef Tallow?

Source : instagram

Beef tallow is a versatile cooking fat with a rich culinary history. This rendered beef fat transforms from liquid to solid at room temperature, making it an excellent alternative to modern cooking oils.

While it fell out of favor with the rise of vegetable based fats, tallow offers unique cooking properties and flavor that many cooks are rediscovering. Its high smoke point and stable composition make it particularly valuable for both cooking and preservation.

What You Need For Making Beef Tallow

Getting ready to make beef tallow is half the battle. Nothing is worse than having to hunt down tools mid-recipe when your hands are covered in beef fat.

Take a few minutes to gather everything needed before starting. This small step makes the whole process run smoothly.

  • Beef Fat (Suet): This is the hard fat found around the kidneys and loins. Good suet should look bright white with minimal meat attached. Most butchers offer this at bargain prices since it is generally trimmed away from premium cuts.
  • Knife and Cutting Board: You will want a sharp chef's knife that can power through the dense fat without slipping. A sturdy cutting board provides you the stable surface needed to chop securely and efficiently. Skip the small boards here - go for something with plenty of workspace.
  • Stock Pot: A heavy-bottomed stock pot provides even heat distribution crucial for proper rendering. Choose one with tall sides to prevent splatter and enough capacity to accommodate the fat as it melts. The pot should be at least twice the volume of your raw ingredients to prevent overflow.
  • Fine Mesh Strainer: This tool catches larger impurities during the initial straining phase. Look for a strainer with small holes that can effectively separate the liquid fat from solid pieces. It should be sturdy enough to handle hot liquids without warping.
  • Cheesecloth: Final filtration needs grade 50 or 60 cheesecloth. Its tight weave captures tiny particles that slip through the strainer, resulting in crystal-clear tallow. While coffee filters can work in a pinch, cheesecloth allows for faster straining while hot.
  • Funnel: Though not mandatory, a heat-resistant funnel significantly reduces mess when transferring hot tallow to storage containers. It prevents spills and makes the straining process more manageable, especially when working with larger quantities.
  • Storage Containers: Wide-mouth glass jars are ideal for storing finished tallow. Their heat-resistant nature and airtight seals keep the tallow fresh longer. Choose containers that match your typical usage amount to minimize exposure to air when storing.
How To Make A Beef Tallow: Easy Steps

Here's the thing about preparing tallow - it's surprisingly straightforward once you understand the basics. Whether planning to use it for crispy potatoes, flaky pastry, or traditional soap-making, good technique makes all the difference.

The process requires patience, but the result is worth every minute spent watching those chunks of fat slowly melt into liquid gold. Let's walk through the steps to transform raw suet into pristine, versatile tallow.

Instructions

Step 1: Prepare the Fat

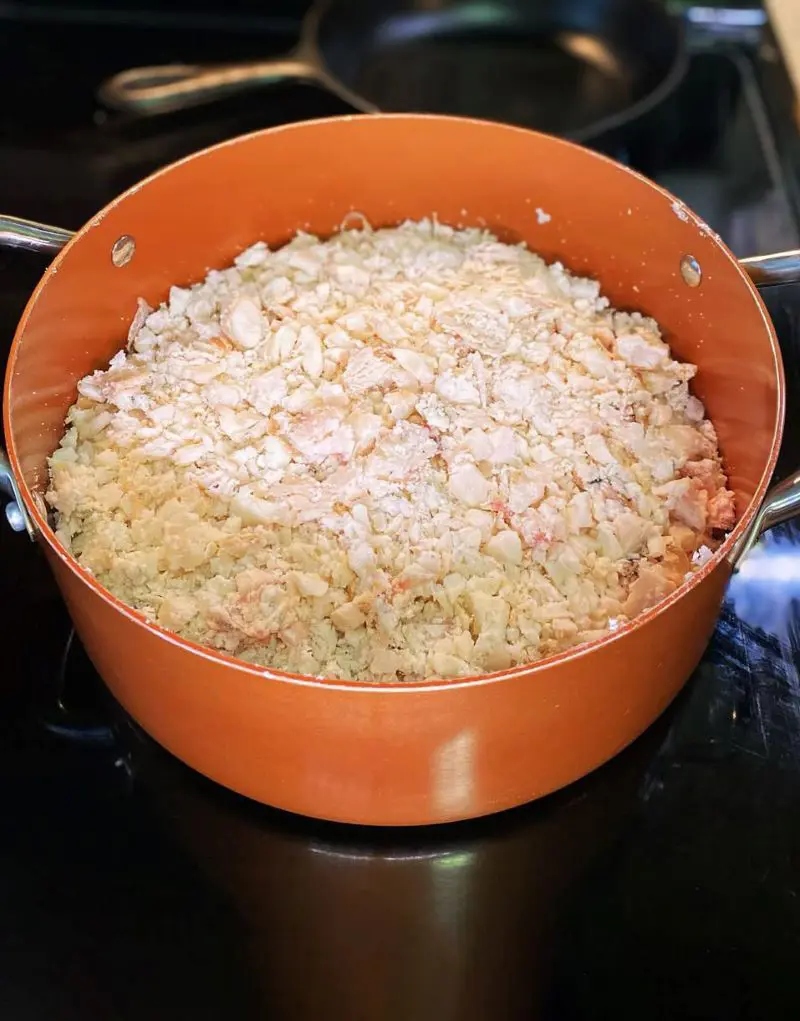
Start by getting that beef suet ready for rendering. If it's frozen, let it thaw completely in the fridge overnight - trying to cut frozen fat is both difficult and dangerous.

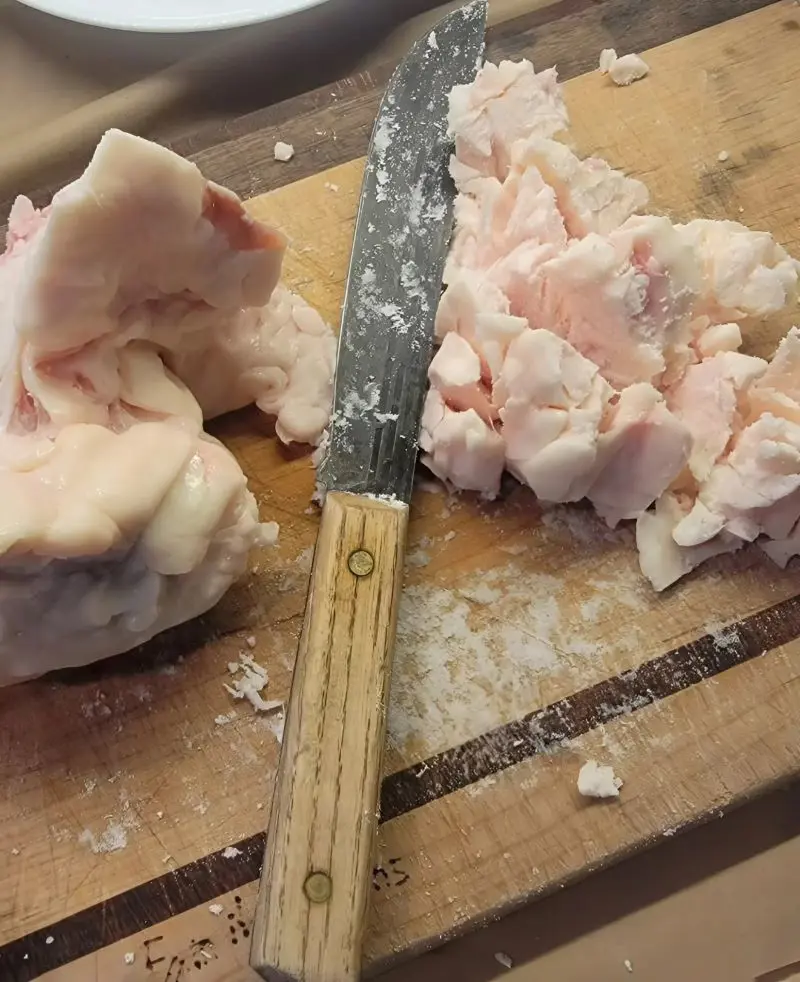
Once thawed, grab your sharpest knife and start cutting the fat into chunks about the size of playing dice. Keeping the pieces uniform helps them render evenly.

Take time to trim away any meat or bloody spots you find - these can give your tallow off-flavors. Work in batches if needed to avoid overcrowding your cutting board.

Source : instagram

Step 2: Begin the Rendering Process

Transfer your cut fat to that big stock pot and set it over the lowest heat your stove can manage. Patience is key here - rushing with high heat leads to scorched, discolored tallow.

You're looking for the gentlest of simmers, just enough heat to slowly melt the fat. The fat will start to melt gradually, creating small pools of liquid at the bottom of the pot. This is when the transformation begins.

Source : instagram

Step 3: Monitor and Stir

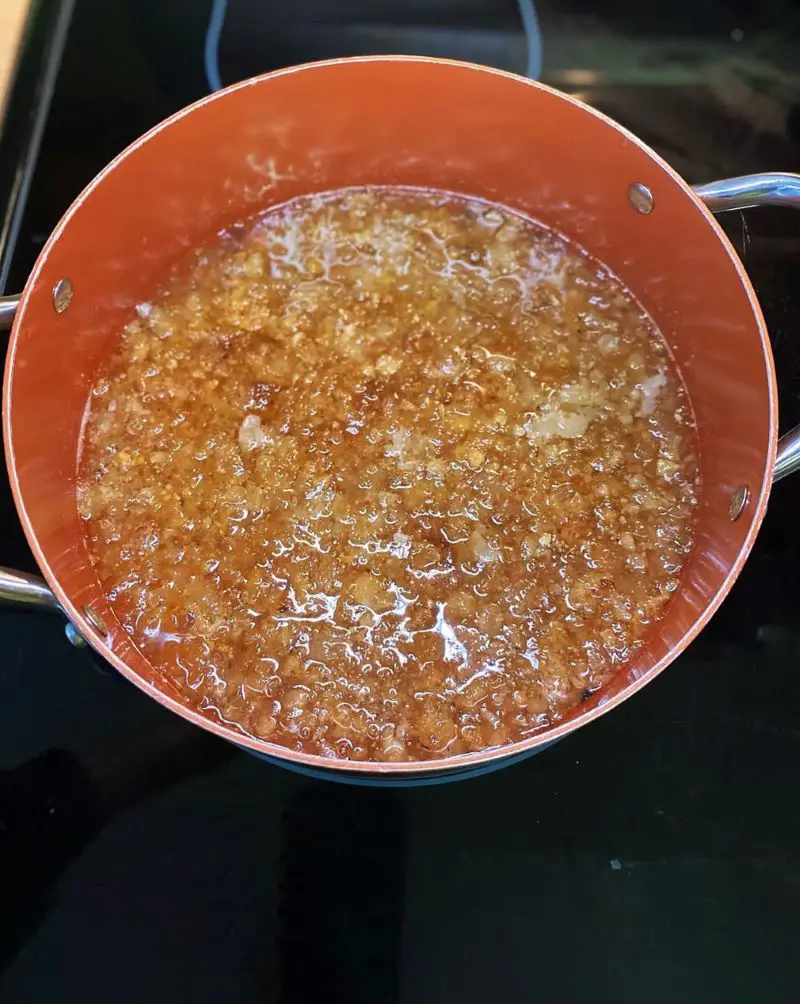
This is where attention to detail matters. Over the next couple of hours, the fat will slowly break down and liquefy. Give it a gentle stir every 15-20 minutes paying attention to the bottom of the pot to prevent any sticking.

You'll notice the solid pieces getting smaller and turning slightly golden. The liquid should be clear and pale gold - if it starts turning brown, your heat is too high.

Those little solid bits that remain? Those are called cracklings, and some individuals save them as a crunchy snack.

Source : instagram

Step 4: Assess Doneness

You'll know you're getting close to finished when most of the solid pieces have shrunk significantly and turned a light golden color. The liquid should be clear enough to see through, with a slight golden tinge.

This usually takes 2-3 hours, sometimes longer depending on your quantity and heat level. Don't rush this final stage - complete rendering gives you the purest tallow that will last longest.

Source : instagram

Step 5: Strain and Filter

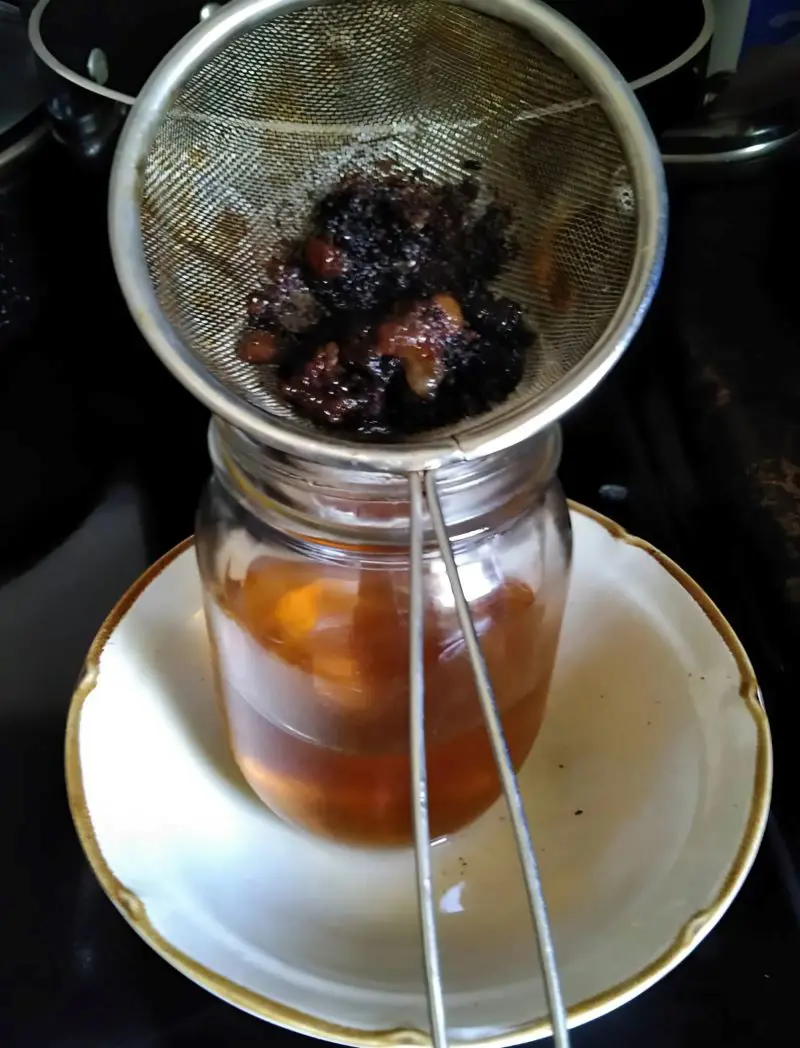
Now for the crucial cleanup step. Set up your straining station before you start pouring - that hot fat waits for no one. Place your fine-mesh strainer over a heat-safe bowl and line it with several layers of cheesecloth. 

Pour the liquid tallow through in batches, being careful not to splash. The first straining catches the larger bits, while the cheesecloth traps those tiny particles that could cloud your tallow.

If you notice the straining slowing down, you might need fresh cheesecloth.

Source : instagram

Step 6: The Final Rest

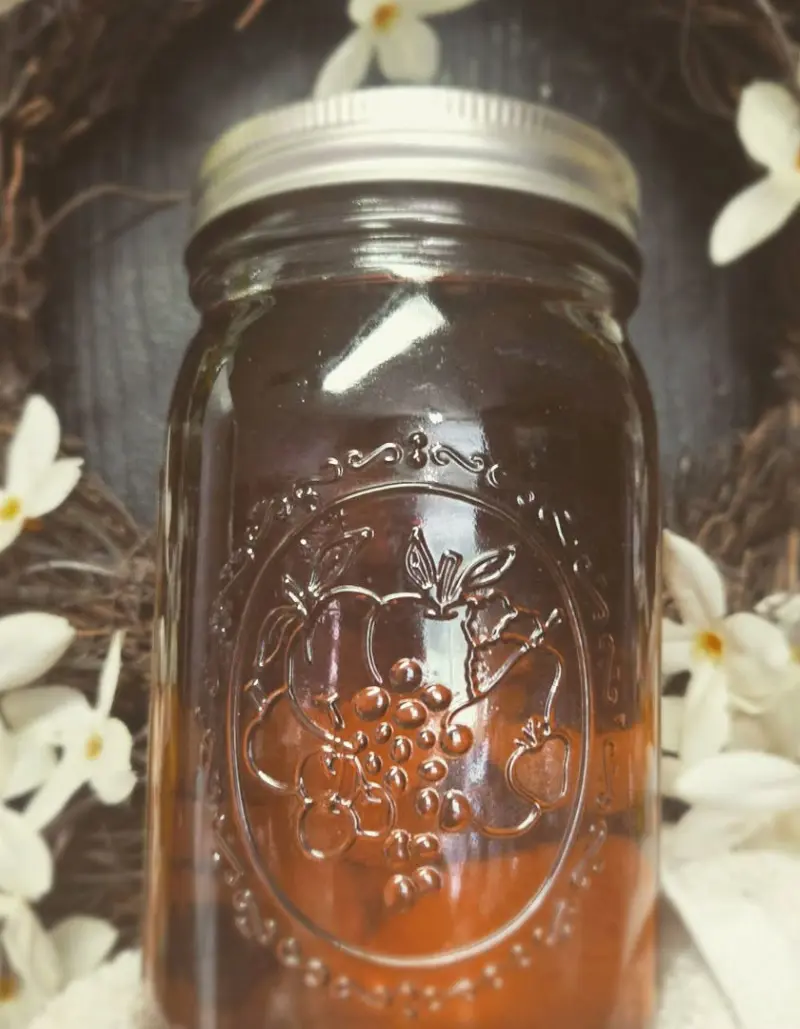
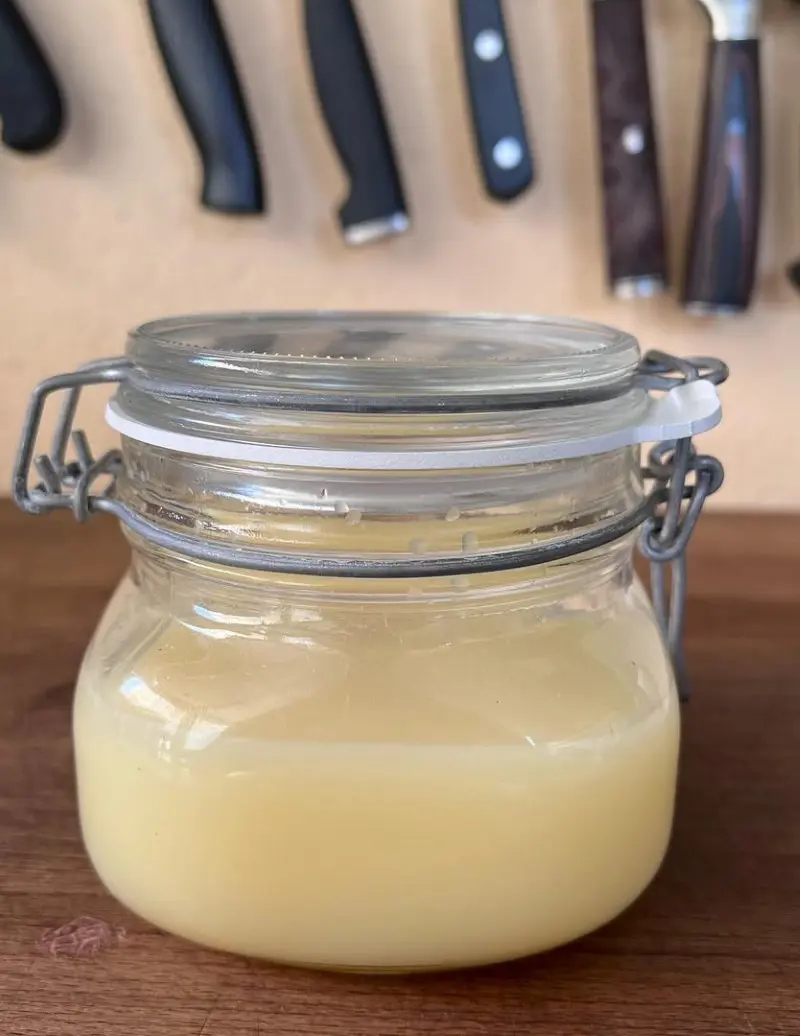
Let your freshly strained tallow cool at room temperature until it starts turning opaque. Once it's no longer hot, transfer it to your storage containers using the funnel - leave a little headspace for expansion.

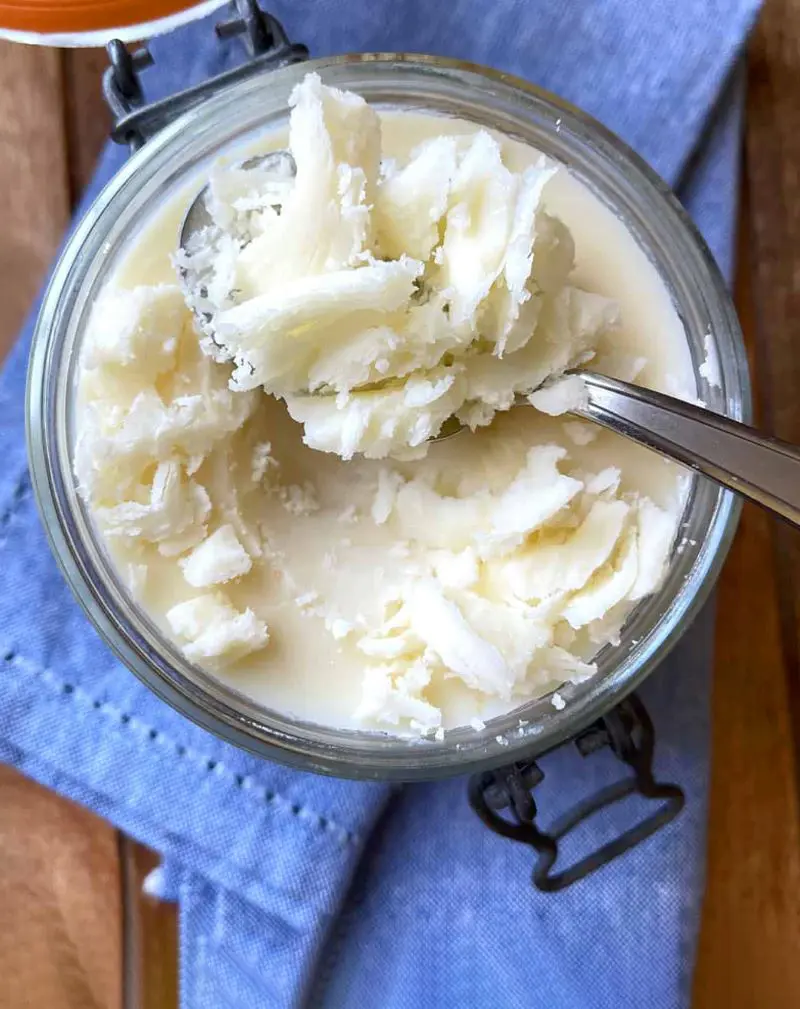
As it cools completely, the tallow will turn a beautiful creamy white color and become firm. Seal those jars tightly and stash them in the fridge.

Source : instagram

How Do You Make Beef Tallow In The Oven

Want a more hands-off approach to rendering tallow? The oven method offers just that. After cutting the beef fat into small pieces, place them in a heavy-bottomed pot or Dutch oven.

Set the oven to a gentle 325°F - this steady, surrounding heat helps render the fat evenly without constant monitoring. Pop the pot in the oven and let it work for 3-4 hours.

Check it every 30 minutes, stirring occasionally. Keep an eye on the color - when the liquid turns clear and golden with small, crispy bits floating around, it's ready for straining.

The lower, consistent heat of the oven helps prevent any scorching, though it might take a bit longer than the stovetop method.

Making Tallow in a Slow Cooker

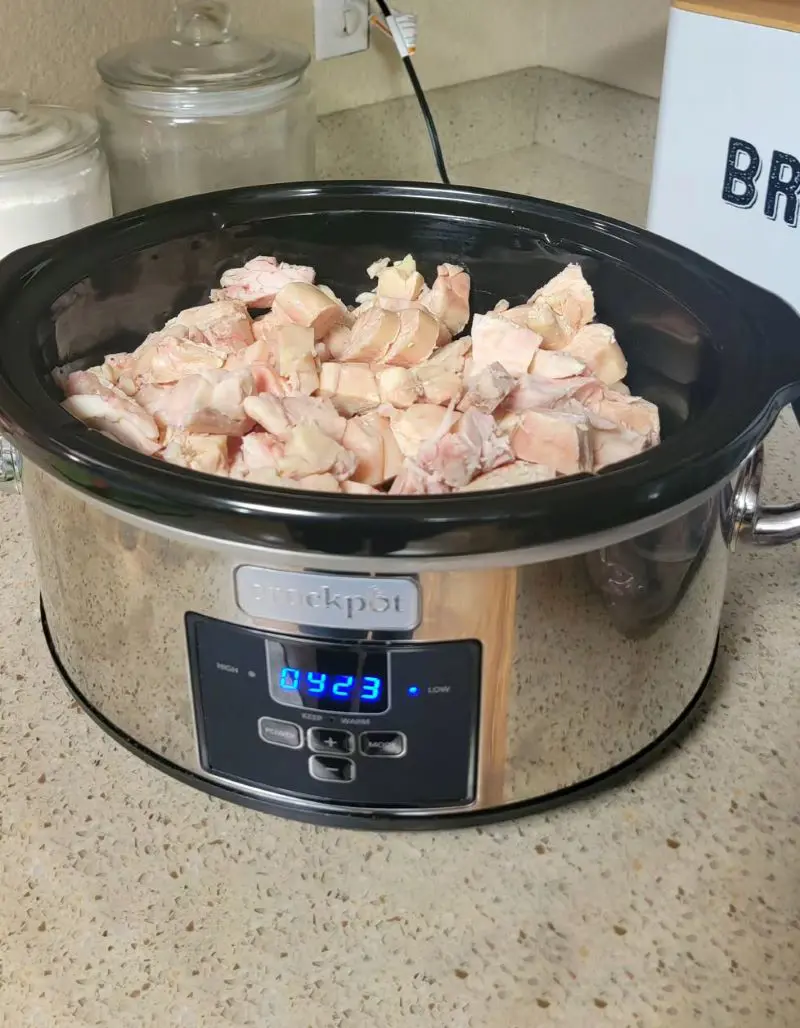
The slow cooker offers another fuss-free way to render beef tallow. Simply load the cut fat into the ceramic insert, set it to low, and let it do its thing for 6-8 hours.

The gentle, steady heat works beautifully for rendering fat, and there's practically zero risk of burning. Leave the lid slightly ajar to let moisture escape, ensuring a pure, clean-tasting tallow.

Some home cooks even let it run overnight, waking up to perfectly rendered fat ready for straining. Just like with other methods, the cracklings will sink to the bottom while the clear, golden liquid rises to the top.

Source : instagram

Helpful Tips For Making Tallow From Beef Fat

  • Choose the Right Fat: Start with the freshest suet possible - grass-fed beef suet gives the cleanest-tasting tallow with more nutrients. Look for bright white fat without any grey or yellow patches. While kidney fat (suet) makes the highest quality tallow, regular beef trimmings work too.
  • Temperature Control: Keep the heat low and steady throughout the process. If the fat starts smoking or the liquid turns brown, the temperature is too high. Small bubbles are good, vigorous bubbling isn't. Gentle heat creates the best results!
  • Freeze for Easier Cutting: Pop the fat in the freezer for about 20 minutes before cutting. Semi-frozen fat is much easier to cut into uniform pieces, and clean cuts mean better rendering. The knife glides through instead of smooshing the fat, giving those perfect, even chunks.
  • Double-Strain for Purity: Strain the tallow twice - first through a mesh strainer, then through cheesecloth or a coffee filter. For extra-clear tallow, let it settle for a few minutes between strainings. Any impurities will sink to the bottom, letting you pour off the pure liquid from the top.
  • Save Those Cracklings: Do not toss those crispy bits left in the strainer! These cracklings make tasty snacks when sprinkled with a little salt, or add them to homestyle cornbread for a unique taste. They are basically the pork rinds of the beef world - crunchy, savory, full of flavor.
  • Mind the Moisture: Any water in your rendering pot can lead to spoilage later. Make sure all equipment is dry before starting. If you notice any water bubbling up during rendering (it'll look like clear bubbles at the bottom), keep cooking until those bubbles stop - that means all moisture has evaporated away.

Ways To Use Homemade Beef Tallow

Source : facebook

This versatile kitchen workhorse brings rich, savory depth to all sorts of dishes. Beyond its stable cooking properties, beef tallow adds that special something - a subtle beefy note that enhances everything from crispy fries to flaky pie crusts.

Whether searing a steak or roasting root vegetables, this traditional fat delivers restaurant-quality results right in your home kitchen.

  • Cooking and Frying: Its high smoke point (around 400°F) means crispy, golden results without any burnt taste. French fries cooked in tallow develop that perfect crispy exterior while staying fluffy inside. For pan frying, a spoonful adds extra flavor to eggs, burgers, or any skillet-cooked meals.
  • Baking: Replace butter or shortening with tallow in savory pastries and pie crusts. The high melting point creates incredibly flaky layers. Try using half butter, half tallow in biscuits. Just make sure the tallow is properly chilled prior to cutting it into the flour.
  • Roasting Vegetables: Toss root vegetables in melted tallow before roasting for unbeatable crispiness. Potatoes, carrots, and parsnips develop gorgeous golden crusts and pick up a subtle meaty flavor that makes them the perfect sidekick to any roast dinner.
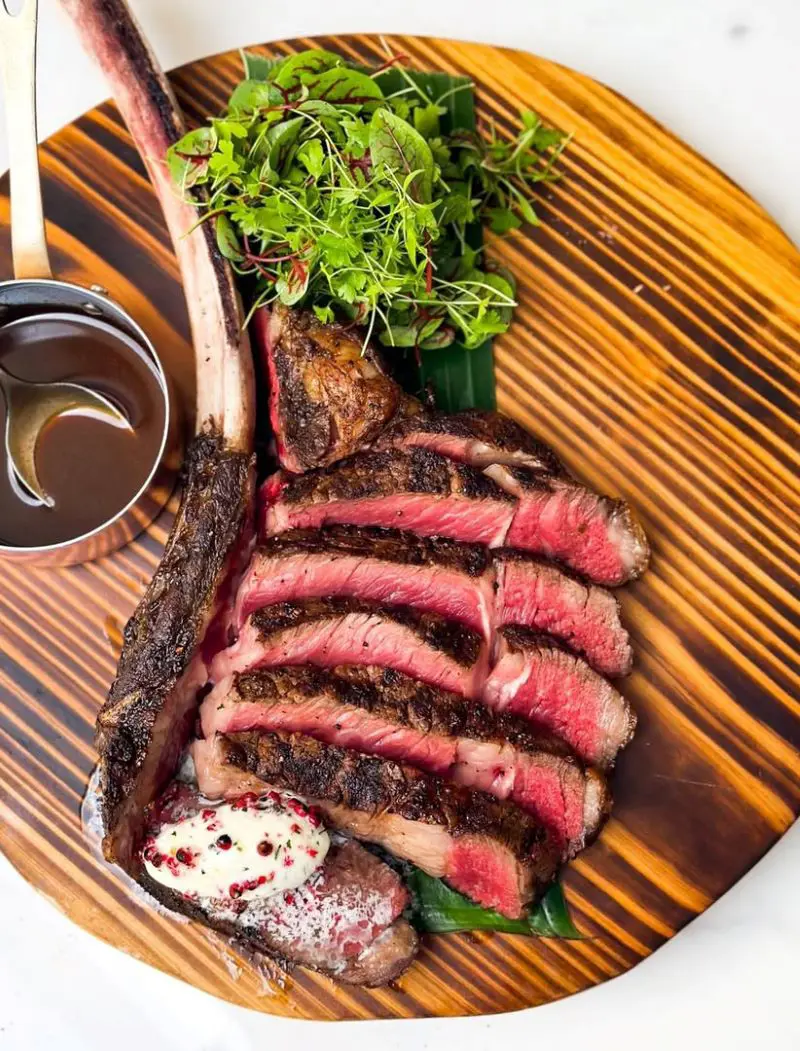
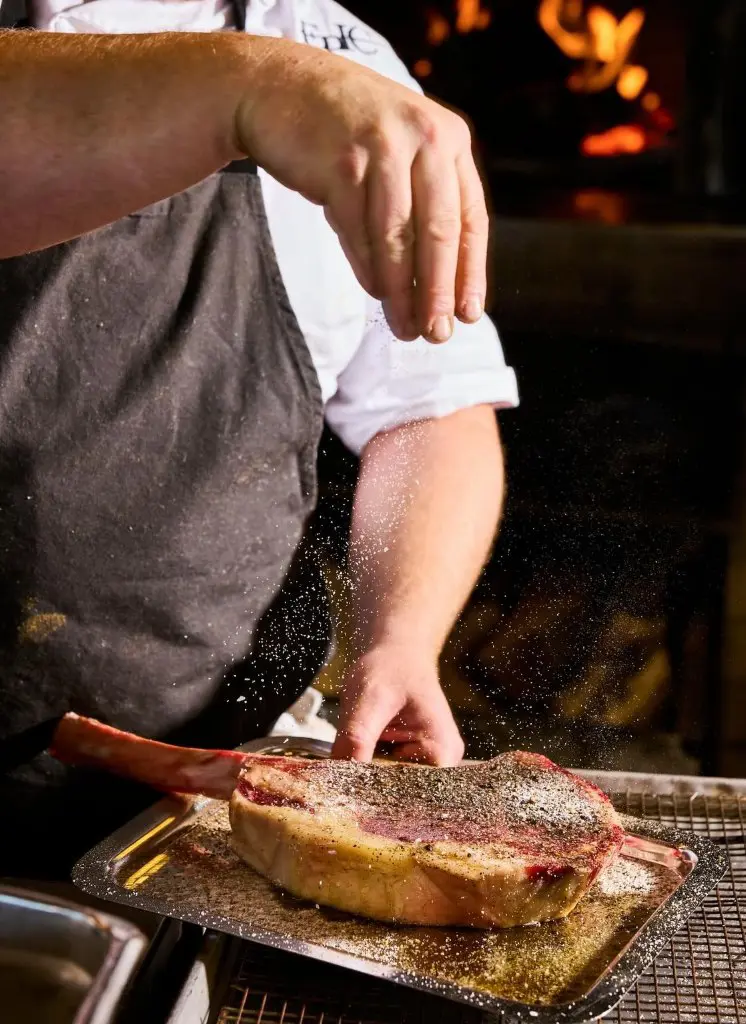
  • Grilling: Brush steaks with melted tallow just before grilling for steakhouse worthy results. The fat helps develop that coveted crust while keeping the meat juicy. For burgers, mix a small amount of softened tallow into the ground beef before forming patties.
  • Beef Tallow Popcorn: Skip the microwave packets and try stovetop popcorn popped in tallow. The high heat tolerance means perfect popping, while the beef flavor creates a savory snack. Just heat a couple tablespoons of tallow in a heavy pot, add kernels, and shake until popping slows.
  • Beef Tallow Meatballs: Mix a tablespoon of softened tallow into meatball mixture for extra juicy results. The fat melts slowly during cooking, keeping the meatballs moist while uploading rich flavor. This works especially well for any meat that tends to dry out easily, like turkey or chicken meatballs.
  • Making Gravies and Sauces: Start gravies and pan sauces with a tallow base instead of butter. The beefy undertones add depth, particularly in recipes that complement red meat. For the best gravy, use the tallow that renders from your roast, combining it with additional tallow as needed.
  • As a Spread: Whip softened tallow with a pinch of salt and spread it on crusty bread or dinner rolls. This old-world practice brings incredible flavor to simple bread and works particularly well with sourdough or rye. For extra flavor, mix in roasted garlic or fresh herbs before whipping.

How To Store Beef Tallow

Source : instagram

Proper storage keeps homemade tallow fresh and ready to use whenever the kitchen calls. This stable fat holds up remarkably well when stored correctly, maintaining its quality and flavor for months.

Whether stashing it in the refrigerator for regular use or freezing for long-term storage, a few simple guidelines ensure your rendered tallow stays pristine from the first scoop to the last.

In the Refrigerator

Fresh tallow keeps beautifully in the refrigerator for up to three months. Pour the strained, still-liquid tallow into clean glass jars, leaving about an inch of headspace to allow for expansion as it cools.

Mason jars work perfectly - their wide mouths make scooping easy, and tight-fitting lids keep out unwanted flavors. Let the tallow cool completely before securing the lids, then label each jar with the date.

When it's time to cook, simply scoop out what's needed. If the tallow feels too firm, let the jar sit at room temperature for 10-15 minutes to soften slightly.

In the Freezer

For extended storage, the freezer becomes your best friend. Frozen tallow stays fresh for up to a year while maintaining its original quality.

Divide the tallow into convenient portions before freezing - ice cube trays work great for measuring out small amounts, while freezer-safe mason jars handle larger quantities.

Once the tallow solidifies, transfer ice cube portions to freezer bags for easy storage. Remember to push out as much air as possible before sealing.

When ready to use, thaw frozen tallow in the refrigerator overnight. For quick melting, pop out a cube or two and add directly to a warm pan.